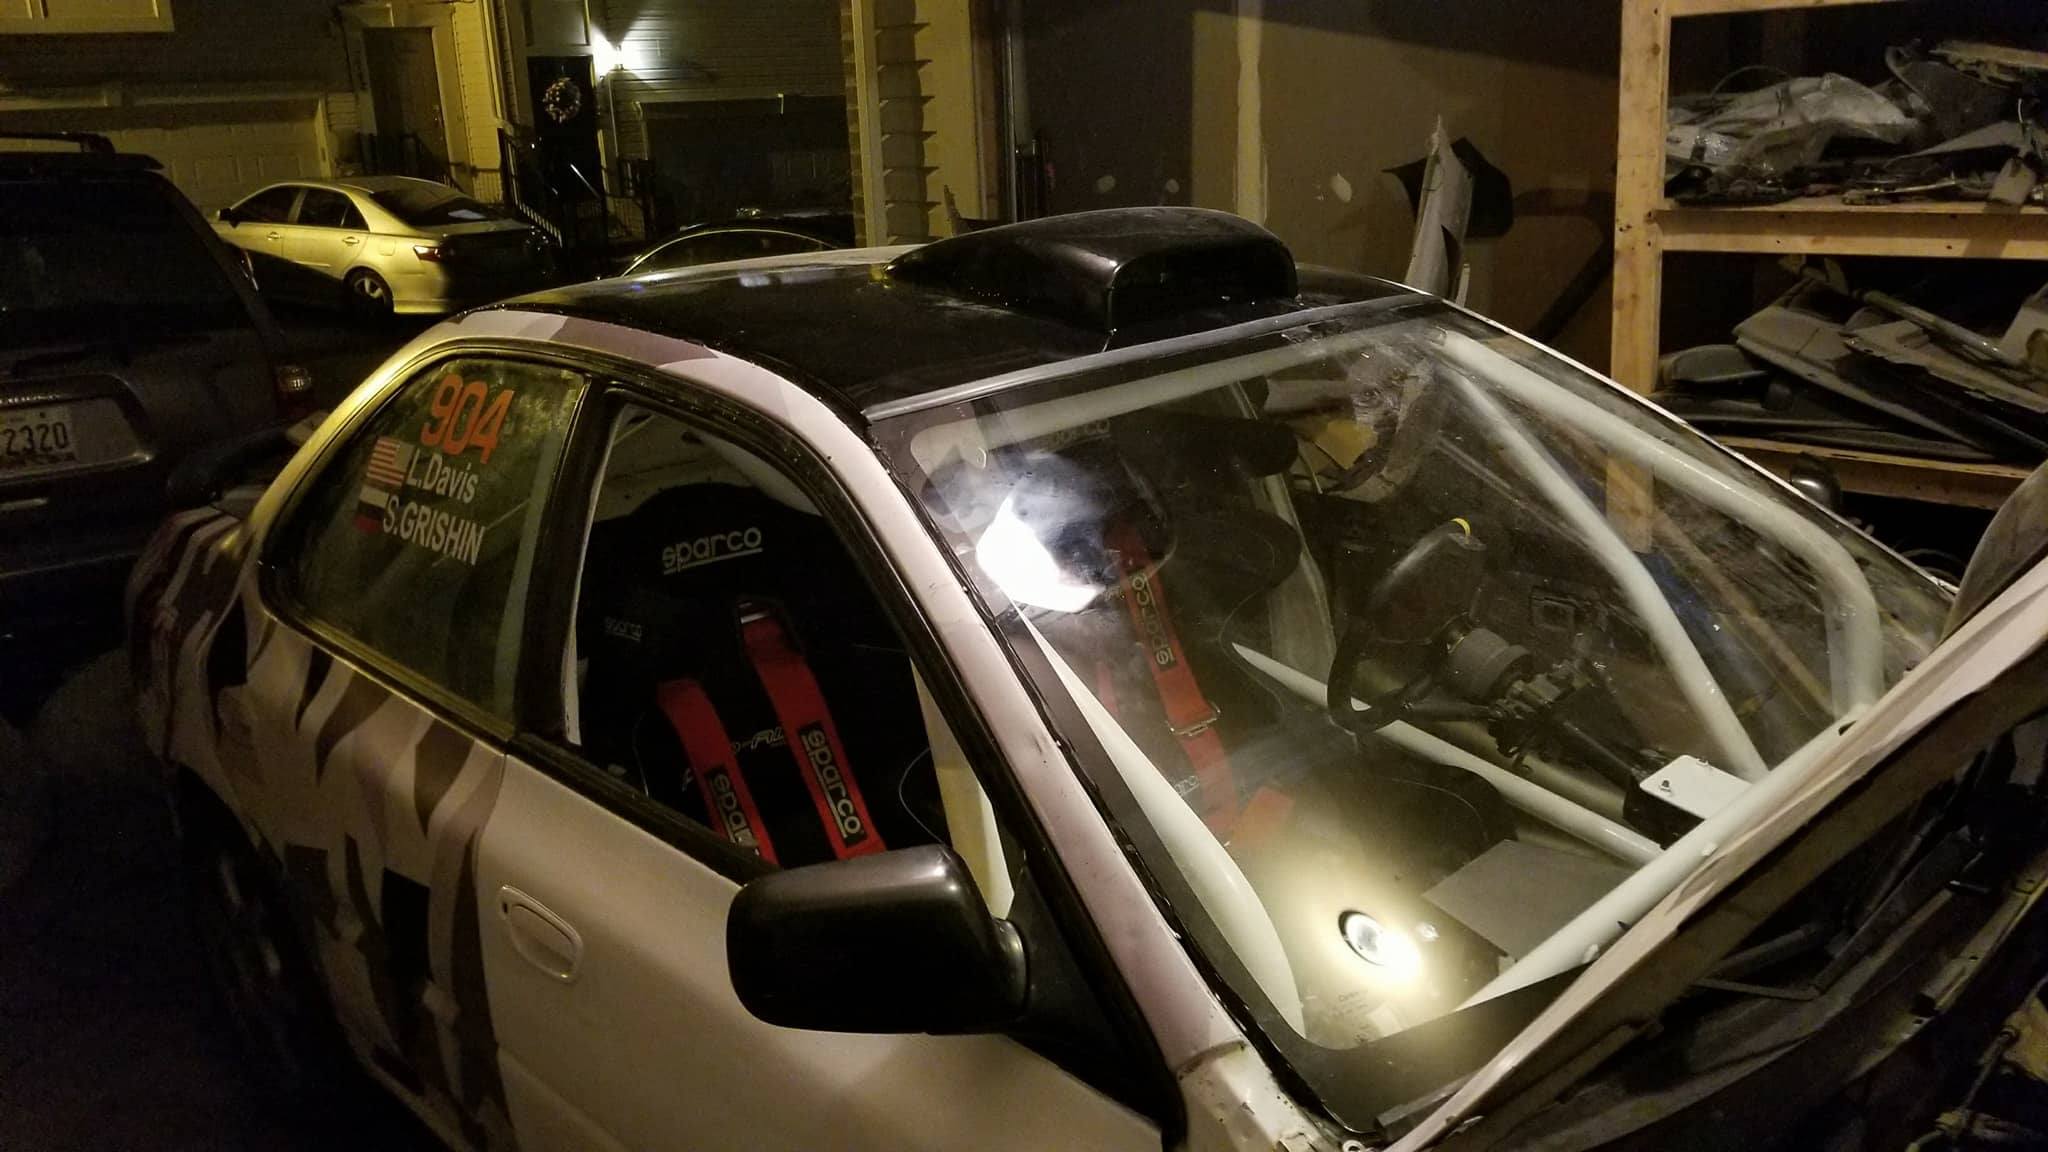
Roof and Body Repair

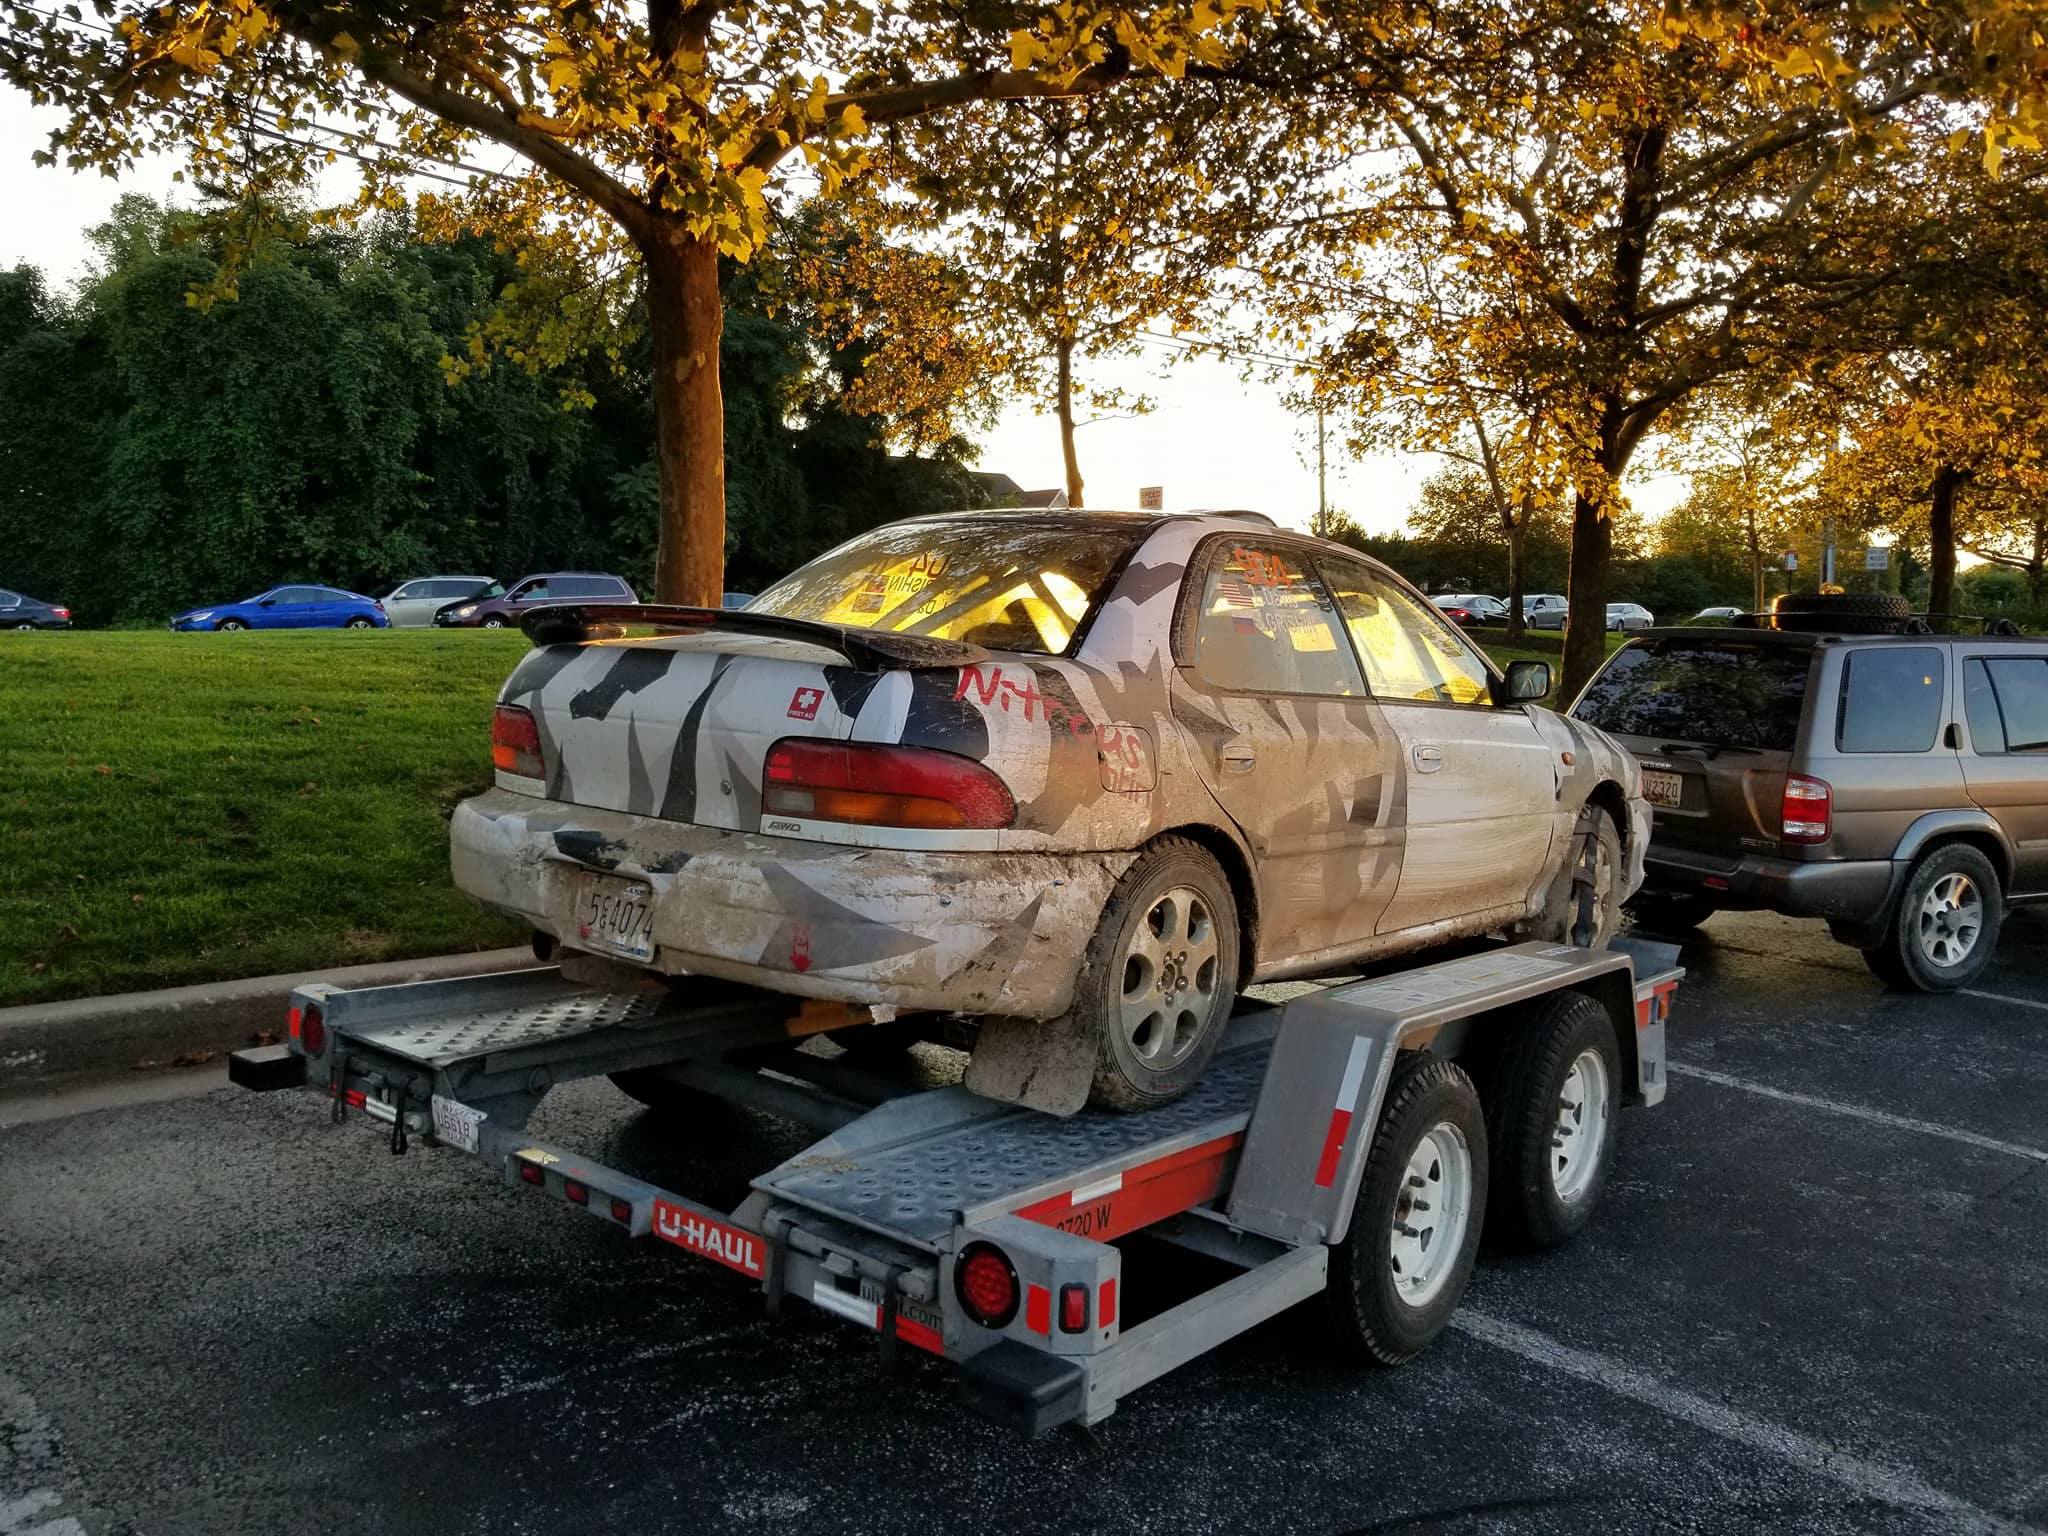
After STPR, we had a bit of a tumble....
This was a quite a lengthy repair, but I was ready to tackle it. The first step was trying to find a 4 door Subaru Impreza without a sunroof at a scrap yard. After waiting for about one and a half months at my local scrap yard, I decided to just pull the trigger on a scrap yard 2 hours away from me. They were asking for $300 for the roof cut, compared to $100 that my local scrap yards would charge if they had it. Two weeks after I bought this one, my local scrap yard ended up with one...
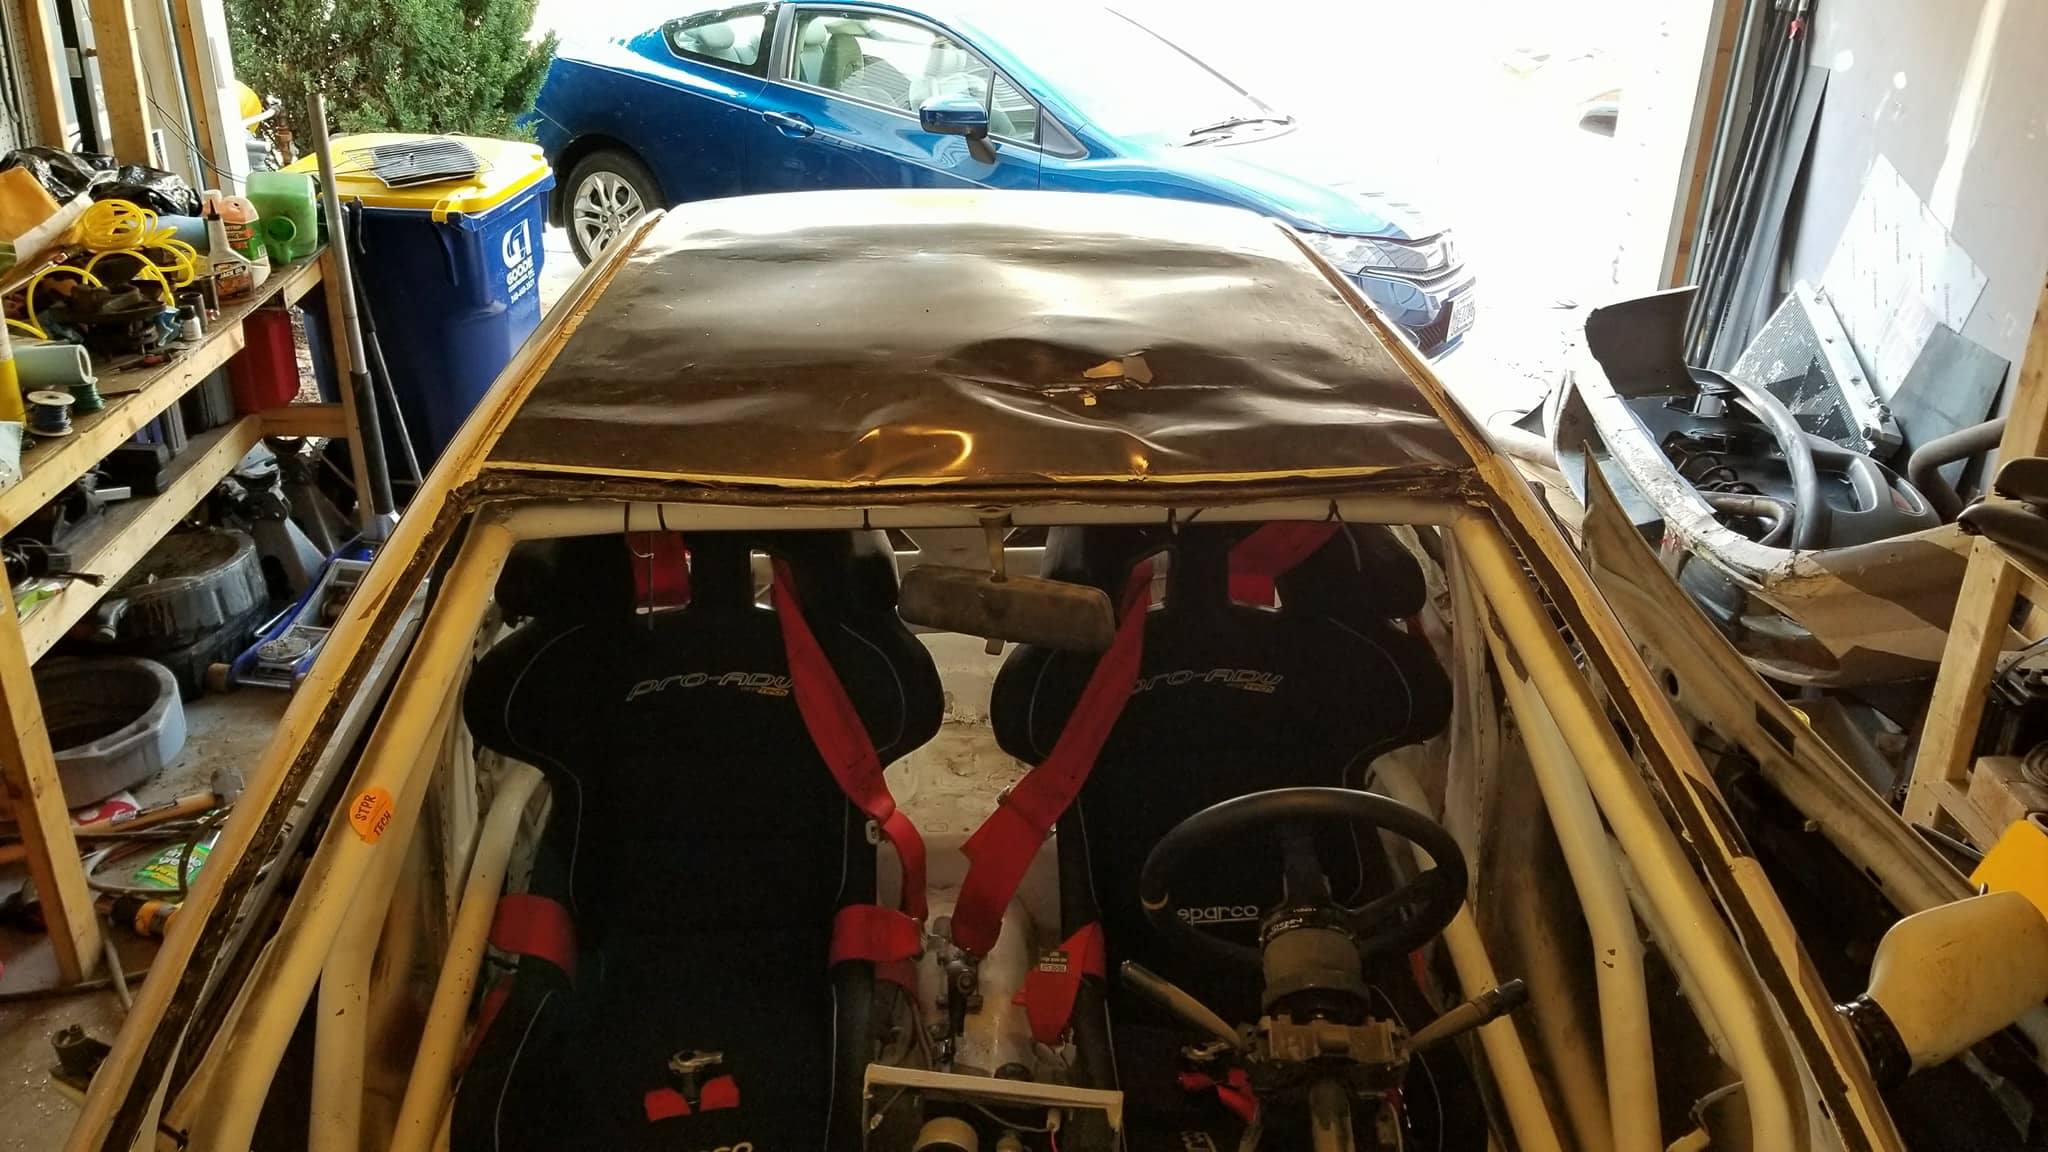
The first step was to take out the windshield and the rear glass. Taking out the windshield was much more difficult than I thought it would be. I kept trying with a utility knife, but it did not get me too far. I ended up getting an extended utility knife and a 90° angled blade that auto glass professionals use. The new knife is neat because you can reach in from the interior and use the knife in the tight spaces where the glass meets the metal. The 90° blade is for areas where you do not have access directly in front of the joint, such as the recessed edge near the A pillar.
My original plan was to get a windshield from the scrap yard because I would have to remove it anyway to get a roof. After all, I was able to take the rear glass off without breaking it. I made three attempts at the scrap yard to remove a windshield, but I cracked it every time.
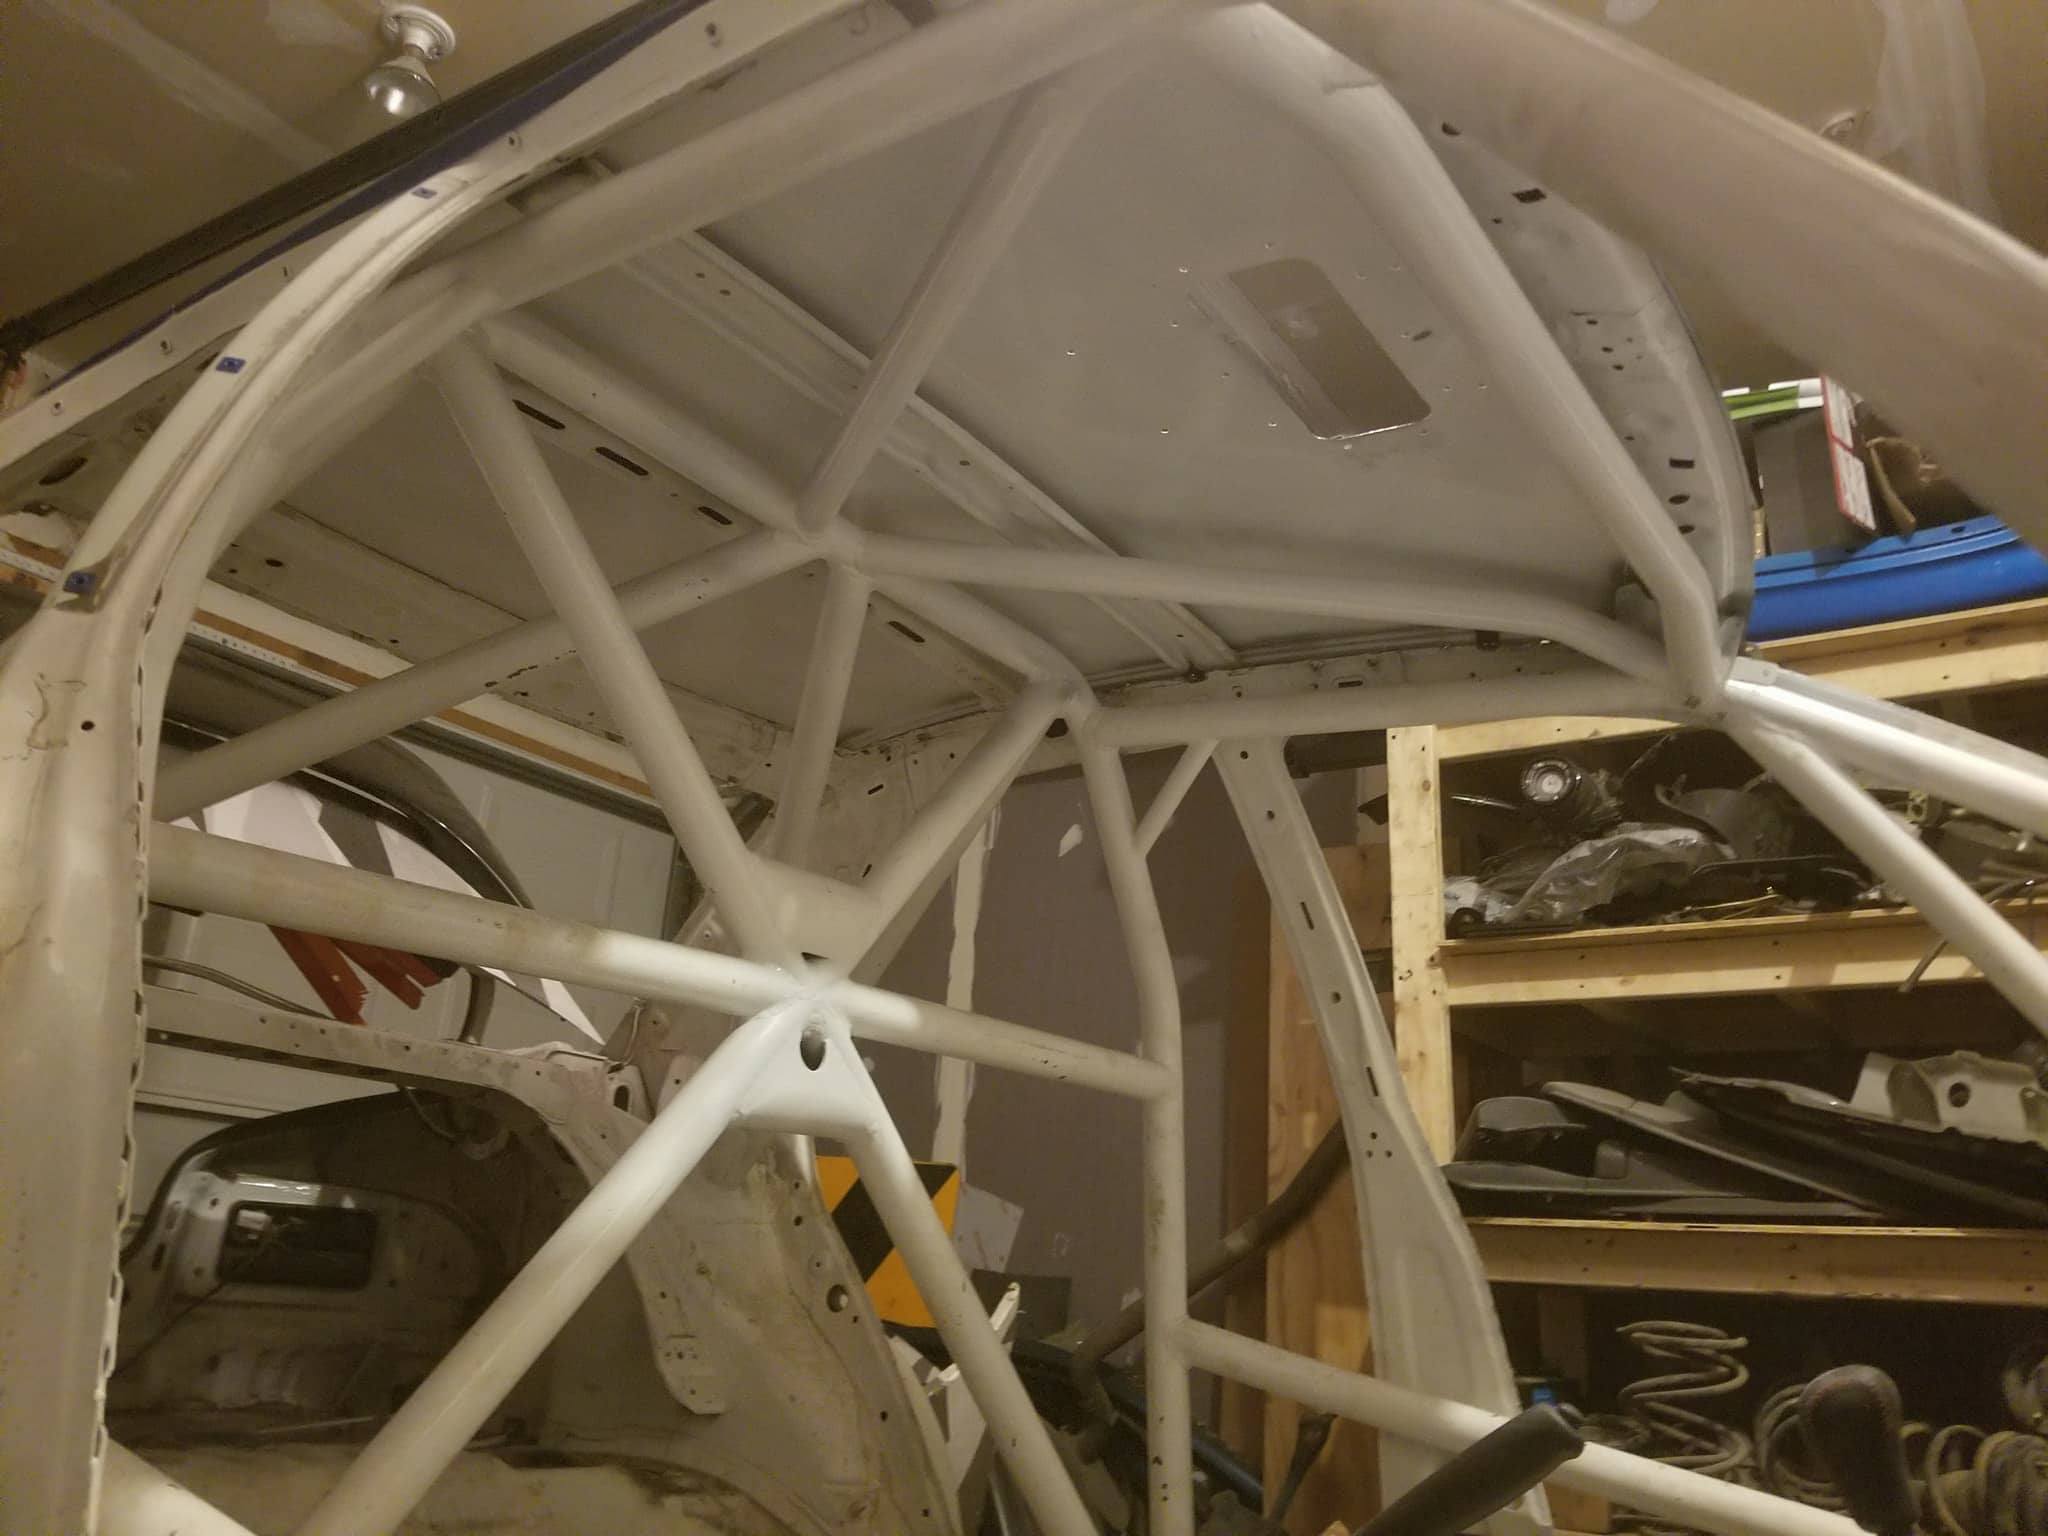
After I removed the glass from my car, all that was left to do was to remove eight nuts that hold the roof skin on and drill out the spot welds. It was my first time using a spot weld drill bit, and it was totally worth it. It helps prevent you from drilling through both of the welded surfaces by only cutting a hole through the top surface. This made installation much easier because I did not need to fill large holes with weld. The extended utility knife was useful here as well to remove some of the adhesive used on the crossmembers of the roof. I also removed the front crossmember since it was crushed from the roll over, and used the one from the new roof.
I decided to use this opportunity to add a roof vent to the car. After hearing stories from friends that did the Southern Ohio Rally without one, I knew that I had to add it soon. I found a used one for sale on a rally Facebook group, so I made the cuts for it before I put the roof on the car.
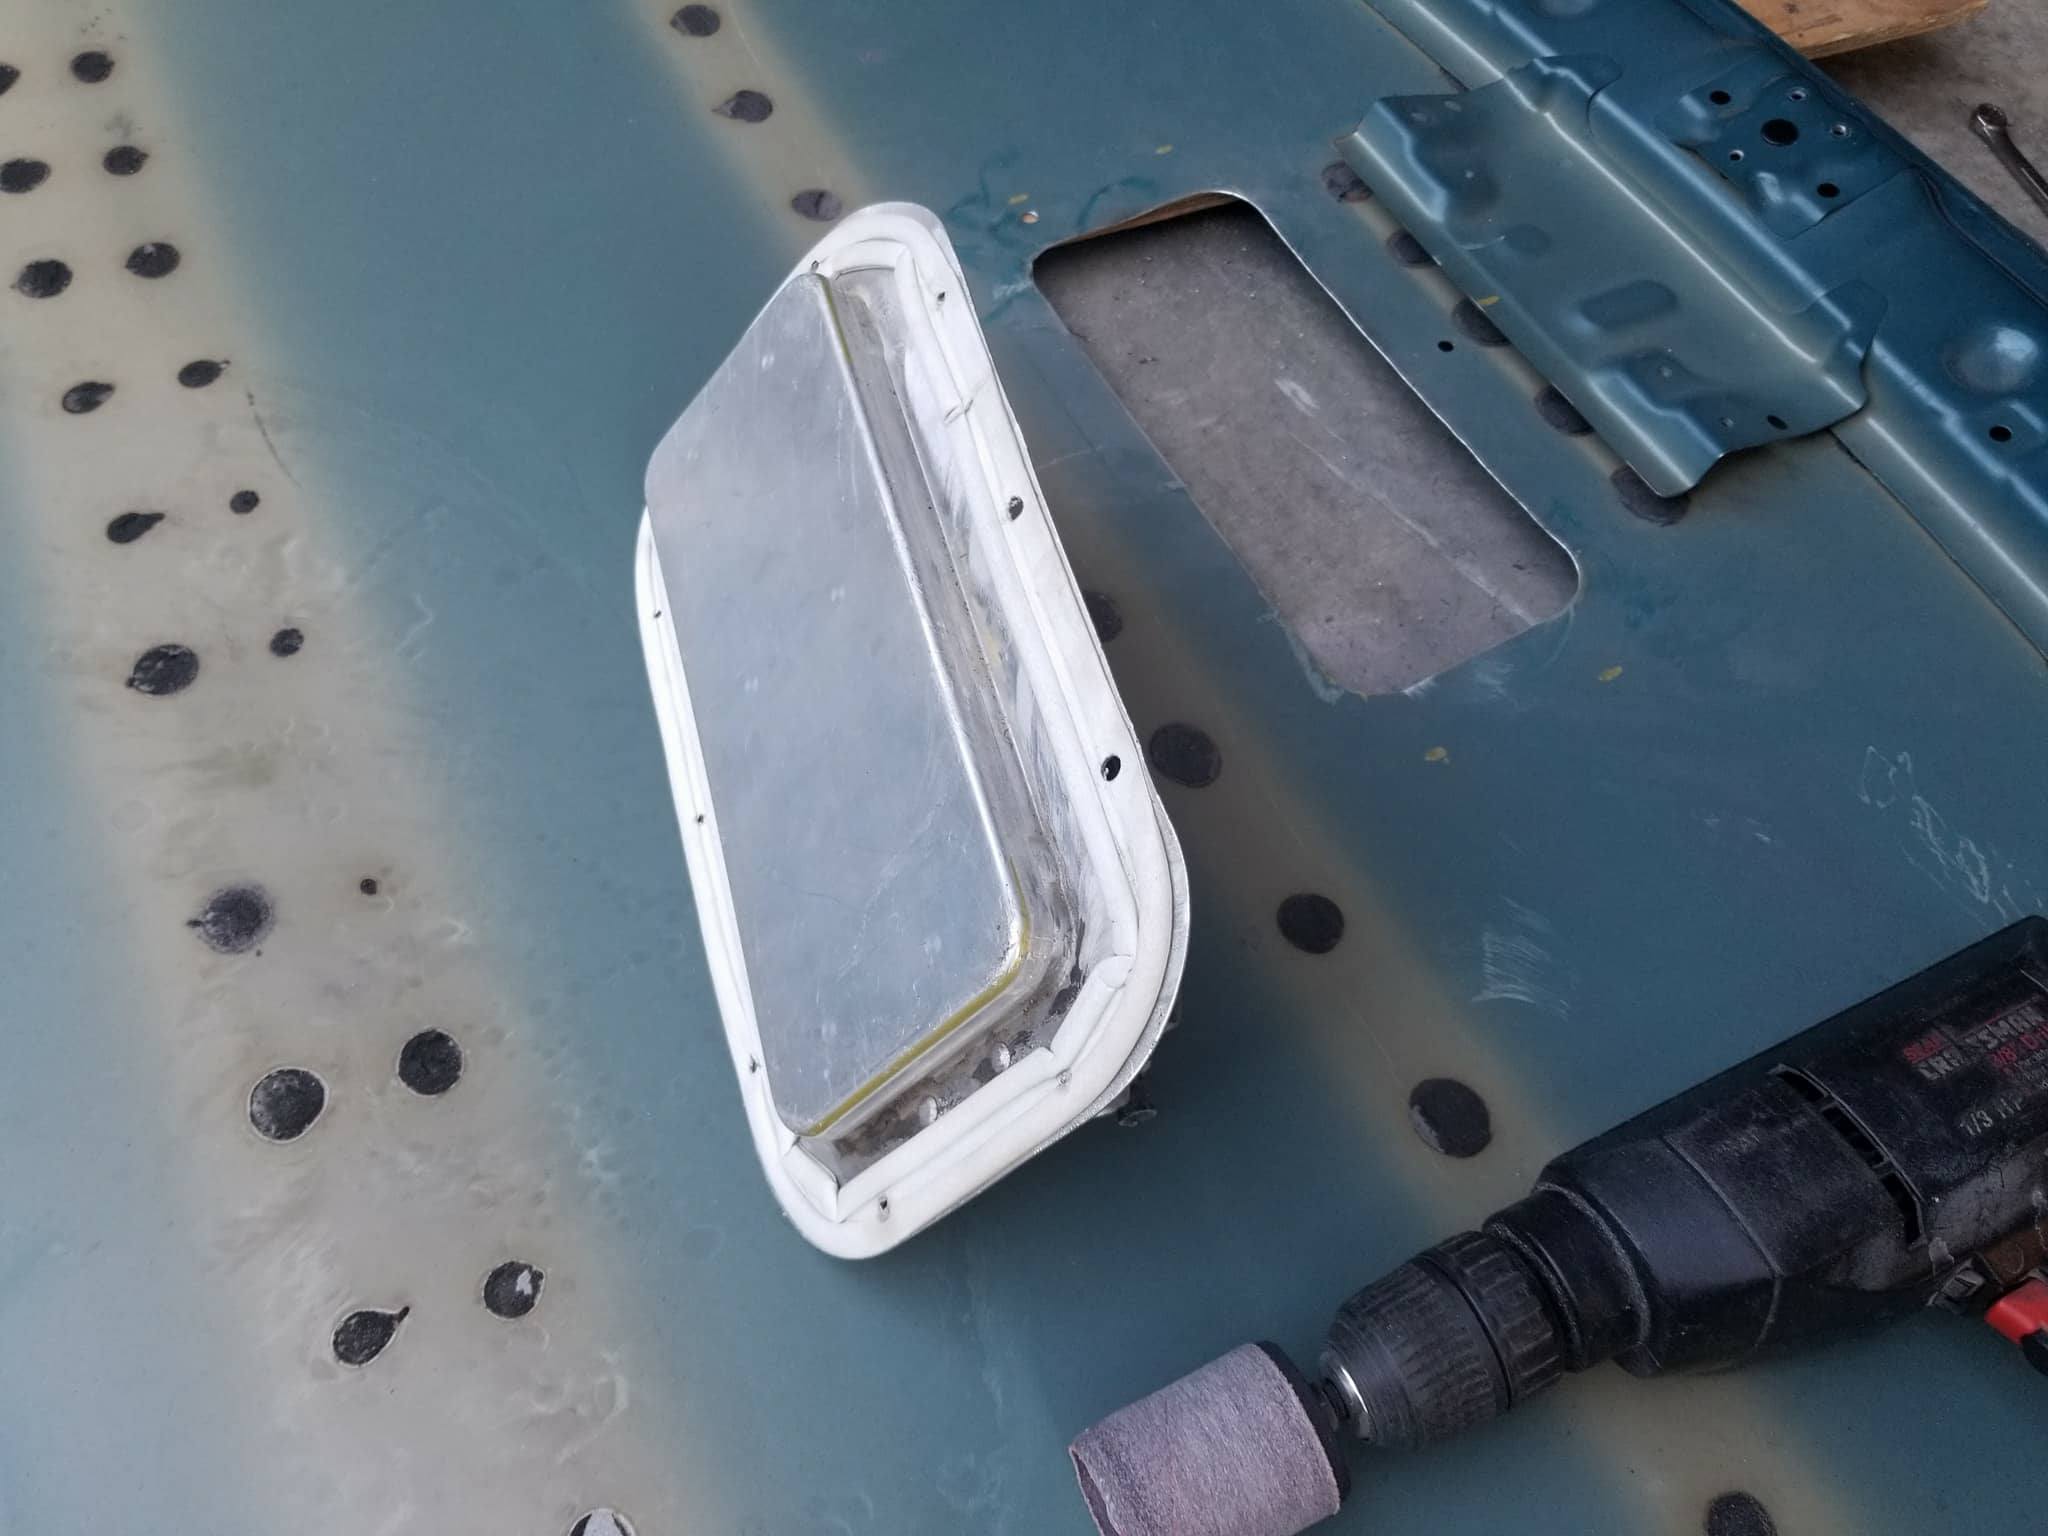
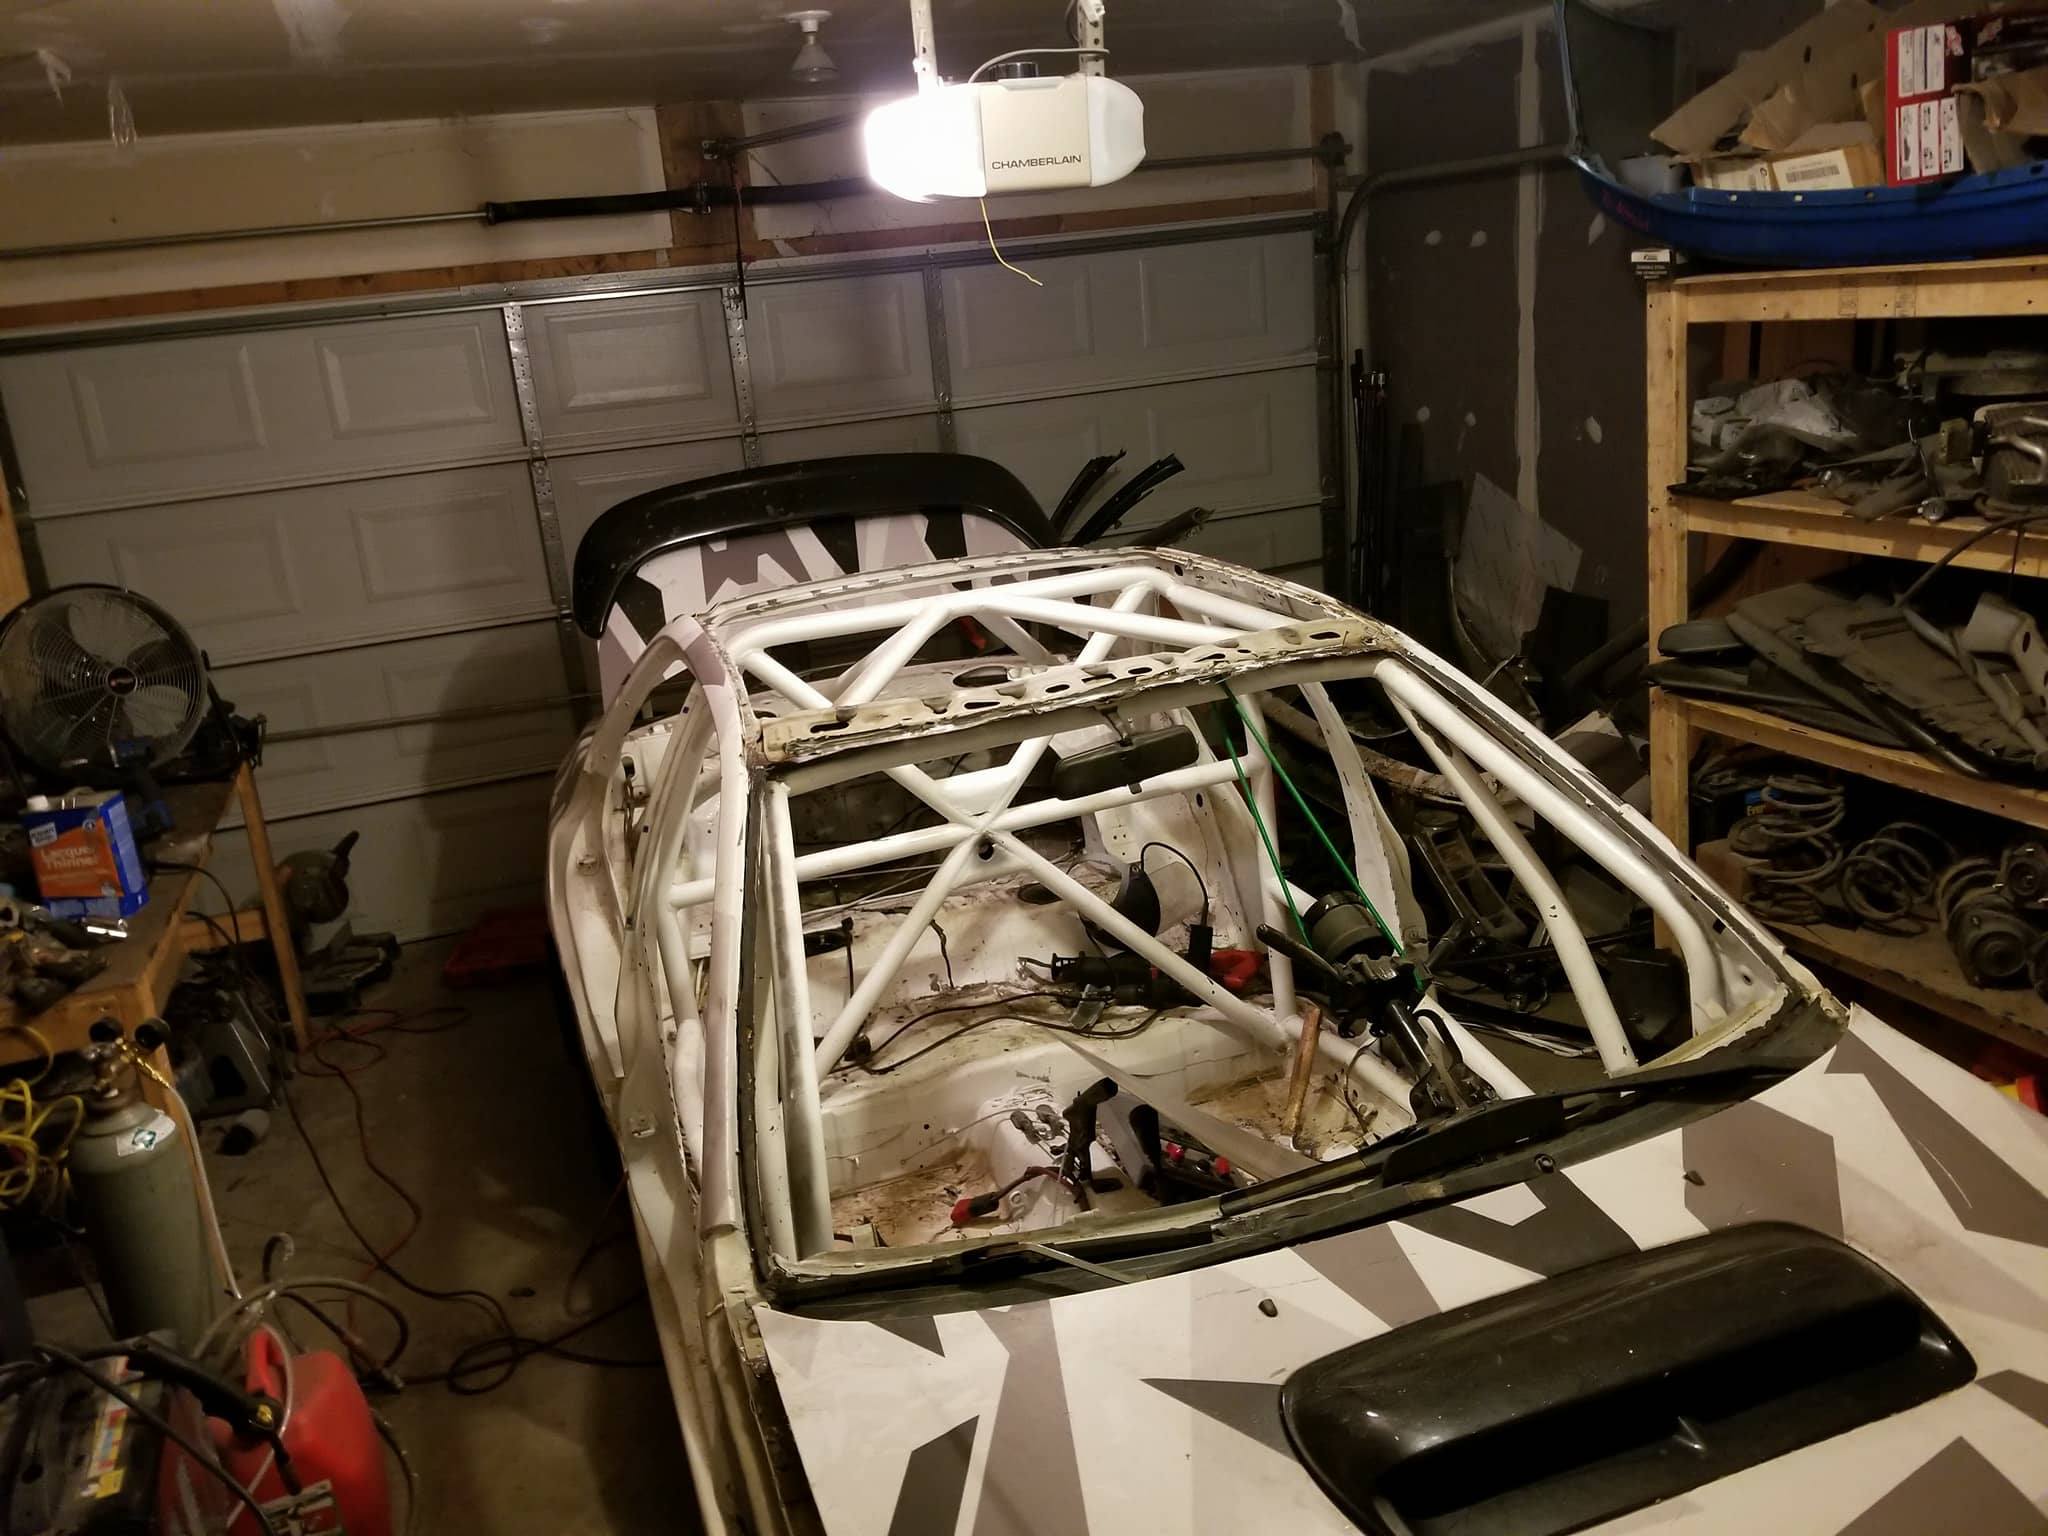
After the roof vent was ready, it was time to put the new roof skin on. I made sure to put some weld through primer on the seams that would be welded to protect the bare metal. I also painted the inside of the roof skin white to make painting easier after it was put back on. I lined up the spot welds and started to weld away. The seams still needed seam sealer on the outside to fully seal it out from moisture. Then it was ready for some paint! I used the Delfleet series paint from PPG. I chose it because it's single stage and cheap. The quality was alright; it came out much stickier than I am used to. I was worried that it was becoming tacky as I was spraying. Not that it was a bad thing, but I just wasn't used to it. It cured very fast!
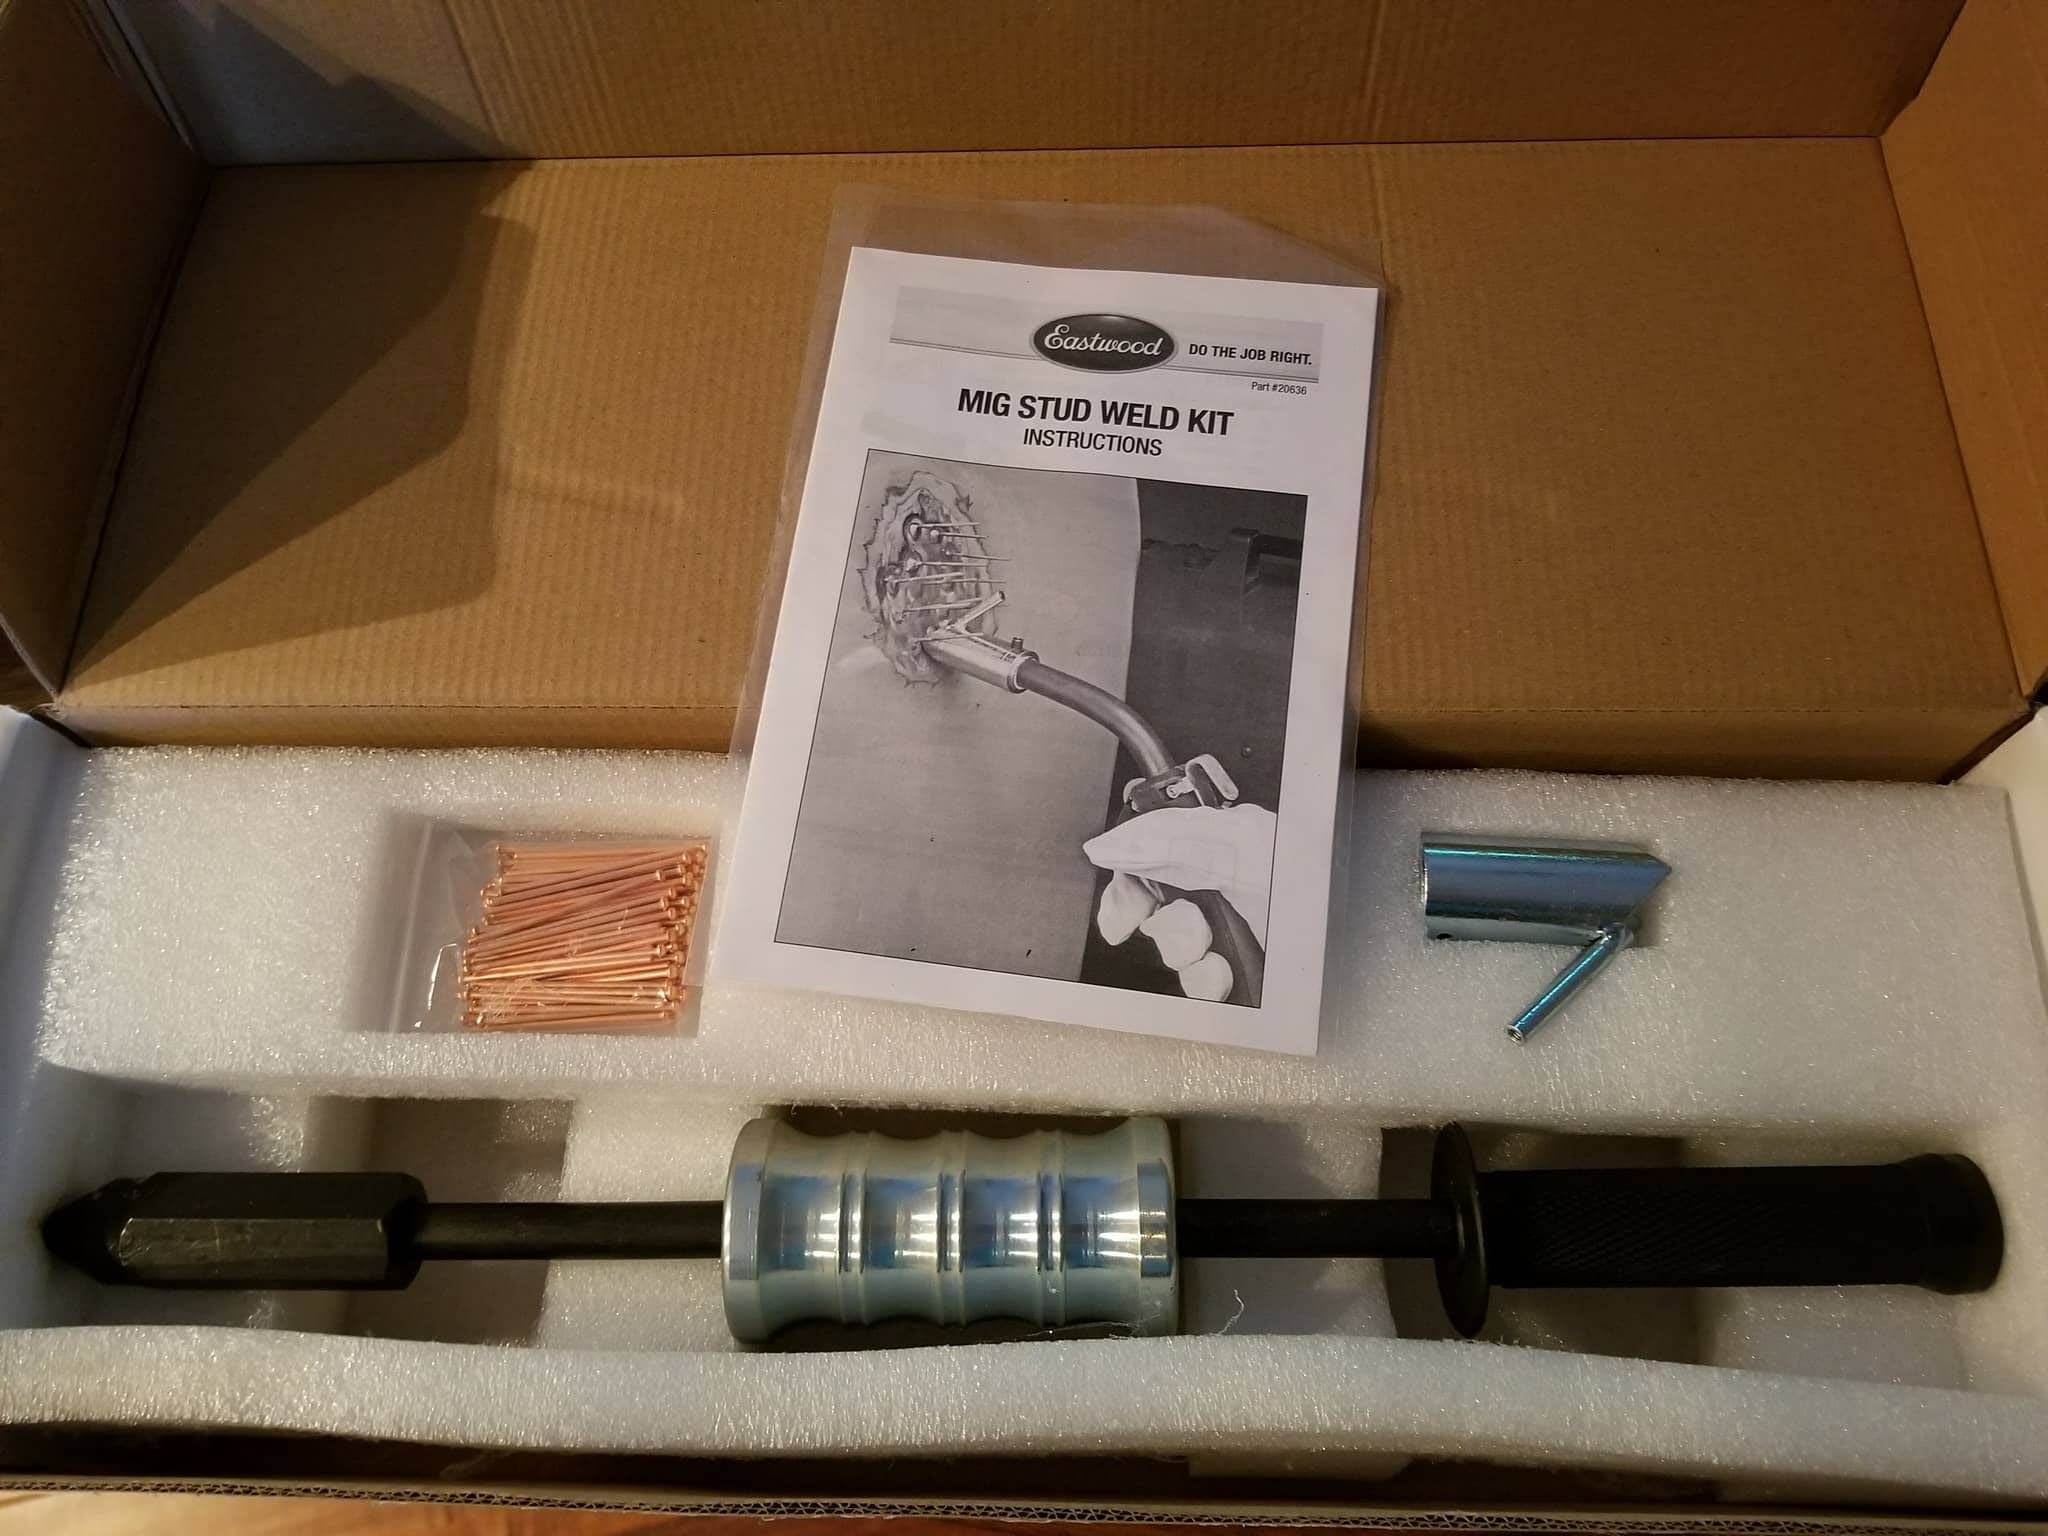
While I was working on the roof, I also had to pull the dents on the quarter panel and the C pillar. I used a slide hammer with weldable studs to pull out the dents.
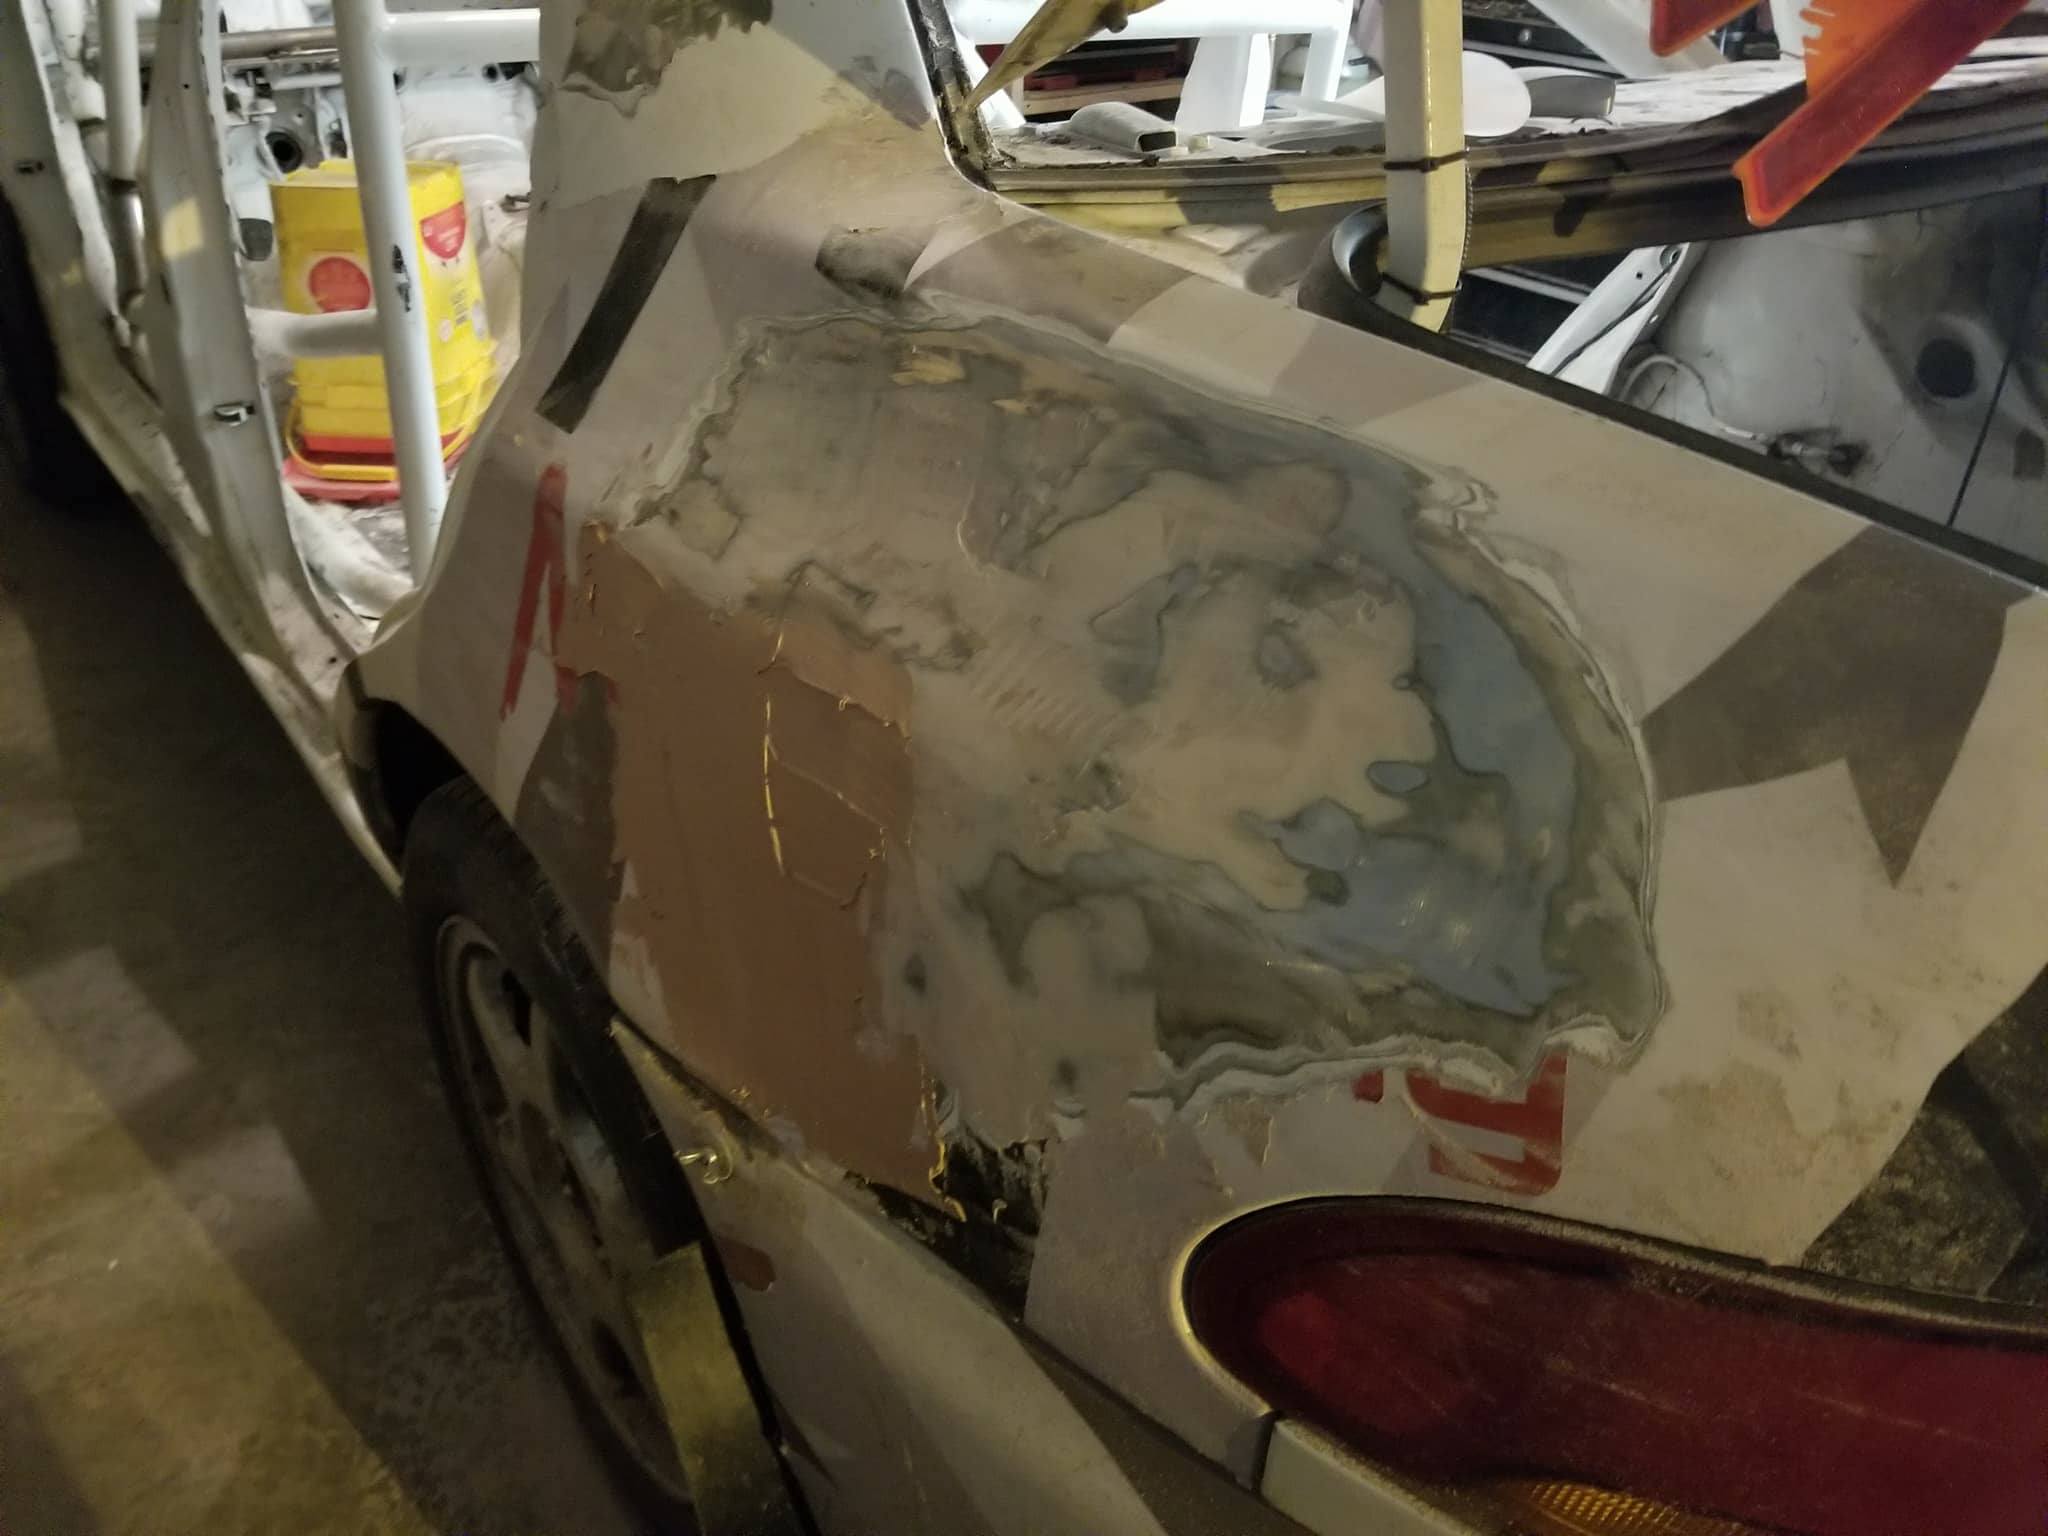
The quality was not too great, but good enough. I needed pressure from multiple points to pull out the dent smoothly; that's what professional shops do. That just means that I needed to use a bit more body filler to smooth out the dents. The quarter panel already had a lot of body filler on it from the past, so back on it goes!
I had to replace the front doors as well after STPR. It made much more sense to buy the doors from the scrap yard than pulling the dents out of the originals. I was able to replace the doors with manual crank versions to save a small amount of weight. They were originally green, but I painted them white while painting the quarter panel and the interior of the roof.\n\nI ended up having to hire someone to install a new windshield along with installing the rear glass that I took off while repairing the roof. He told me that all of the windows are usually tempered, but the windshield is not. That's why they broke very easily when I was at the scrap yard. After all of this body work, I was happy to be finished. It takes a lot of skill, patience, and quality equipment to do a good, quality job. I didn't have much of any, but I know that everything is now safe and functional again. Maybe just a little less pretty, but that's what the camo vinyl wrap is for!