Subaru Impreza 2.5RS - Best Inexpensive Brake Upgrade

When I bought my 2000 Subaru Impreza 2.5RS, I immediately wanted to see what kind of brake upgrades I could do. Since I was building a rally car, I needed to fit 15" wheels to use rally tires since 16" rally tires are very expensive and hard to get. This made big brake kits not an option. Another choice would have been the JDM 4-piston front calipers and the JDM 2-piston rear calipers, also known as the 4-pot and 2-pot brakes. These will fit certain rally specific wheels like Methods, but six Method wheels, a JDM 4-pot, and 2-pot brakes would be around $1600. This doesn't even include pads and rotors; which puts it out of budget for me. I knew there had to be a better way to upgrade my brakes without breaking the bank.
This guide is meant for all 5x100 Subaru Imprezas, excluding WRX and STIs. If you don't care about fitting 15" wheels because it's not a rally car, you can still do this modification and greatly improve your braking. I recommend this upgrade more than the 4-pot and 2-pots because it's cheap and inexpensive to maintain. This a simple bolt on job and not very difficult even if you're a beginner.
This modification will increase your rotor diameter by 0.70" in the front and 1.34" in the rear. We will be using the same calipers, but getting new caliper brackets and rotors. If you do not have an Impreza RS, you will need to upgrade your front calipers to pre-2002 RS calipers or 2002 WRX calipers. Increasing the rotor diameter and positioning the caliper further out will provide more torque on the hub while breaking. It's just like using a longer breaker bar to loosen a bolt.
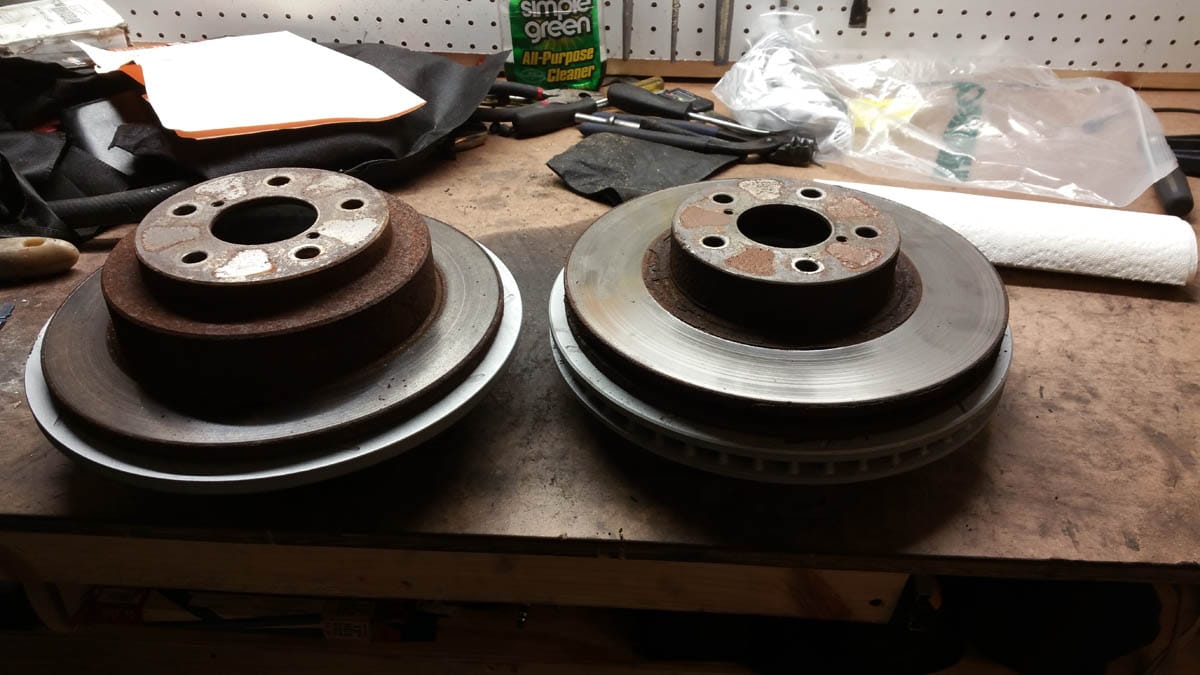
Here is a comparison of the old rotors versus the new ones. The front rotors are on the right and rears are on the left.
Enough talking, let's get to work.
Buying Brake Parts
We start our hard work by going on Amazon, Rockauto, or wherever you get your parts.
I conveniently listed them for you with links:
- 2x Front Caliper Bracket - from 2002 WRX
- 2x Rear Caliper Bracket - from 00-04 Legacy/Outback non-brighton
- If you do not have an Impreza RS, you will need these calipers: left and right. The brackets are included, so you do not need to buy them from the list above.
- 2x Front rotor for an 02-04 WRX.
- 2x Rear rotor for an 00-04 Legacy.
The choice of rotors are up to you, but I recommend these from SP Performance: front and rear. The slots are great for rally cars because they clean out the grit that would otherwise be trapped between the pad and rotor while braking. I do not recommend buying the drilled rotors for rally though. There is a possibility of gravel getting jammed in one of those holes.
You do not need to change your brake pads, but I highly recommend it, especially if it's not an RS. The non-RS pads are about 1/4" shorter, so getting the RS or WRX pads will give you more contact area. To use your new brakes to their full potential, get some high performance brake pads. I use these from Hawk: front and rear.
Don't forget to get a lubricant for the caliper slide pins. I recommend 3M Silicon Paste. I used to use Permatex Caliper Lube, but they ended up gumming up from racing.
Great, now that you ordered your parts, you can have a cold one and wait for them to come in. Good job!
Upgrading Your Subaru Brakes
Now it's time to do some real work. I am not going to go into too much detail as far as how to bleed brakes or install calipers because I am assuming you already have that experience, but if you don't there is always YouTube and other guides on the Internet. The process for the front and rear are basically the same. The only difference is that the rear brakes have a drum-in-rotor parking brake. Make sure you readjust the parking brake with the new rotor using the adjuster screw on the brake shoe assembly.
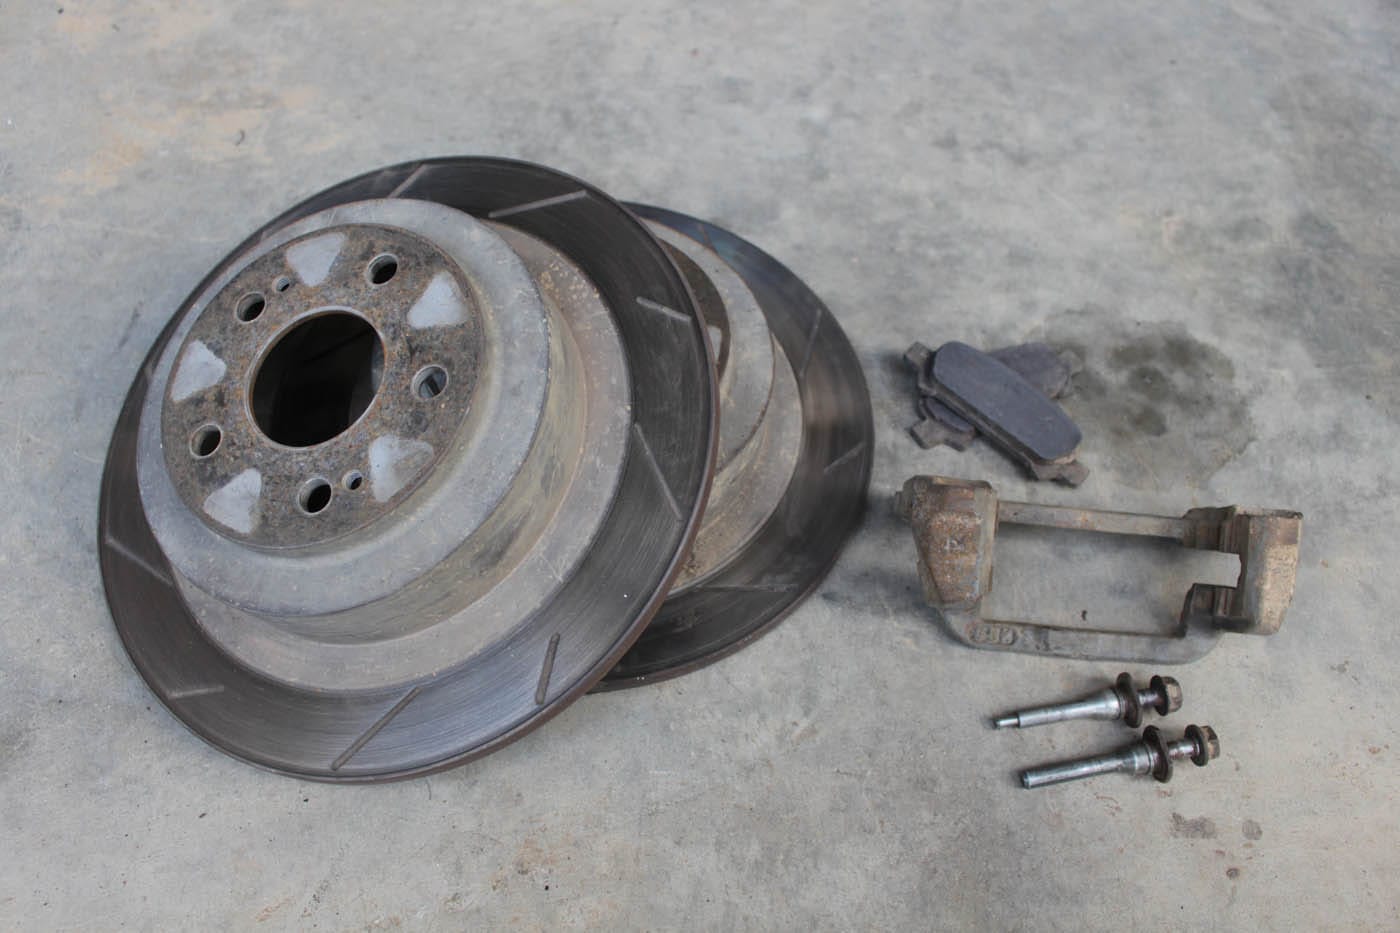
With the wheels off, take off the caliper and caliper bracket. If you do not have an Impreza RS, you can just take off the caliper bracket first so they come off together. You do not need to disconnect the hydraulic line if you have an Impreza RS. The caliper comes off with 2 medium sized bolts on the outside of the caliper. It may take some wiggling, but it will pull off. The caliper bracket comes off with 2 large sized bolts on the back of the knuckle. Now you can take off the rotor.
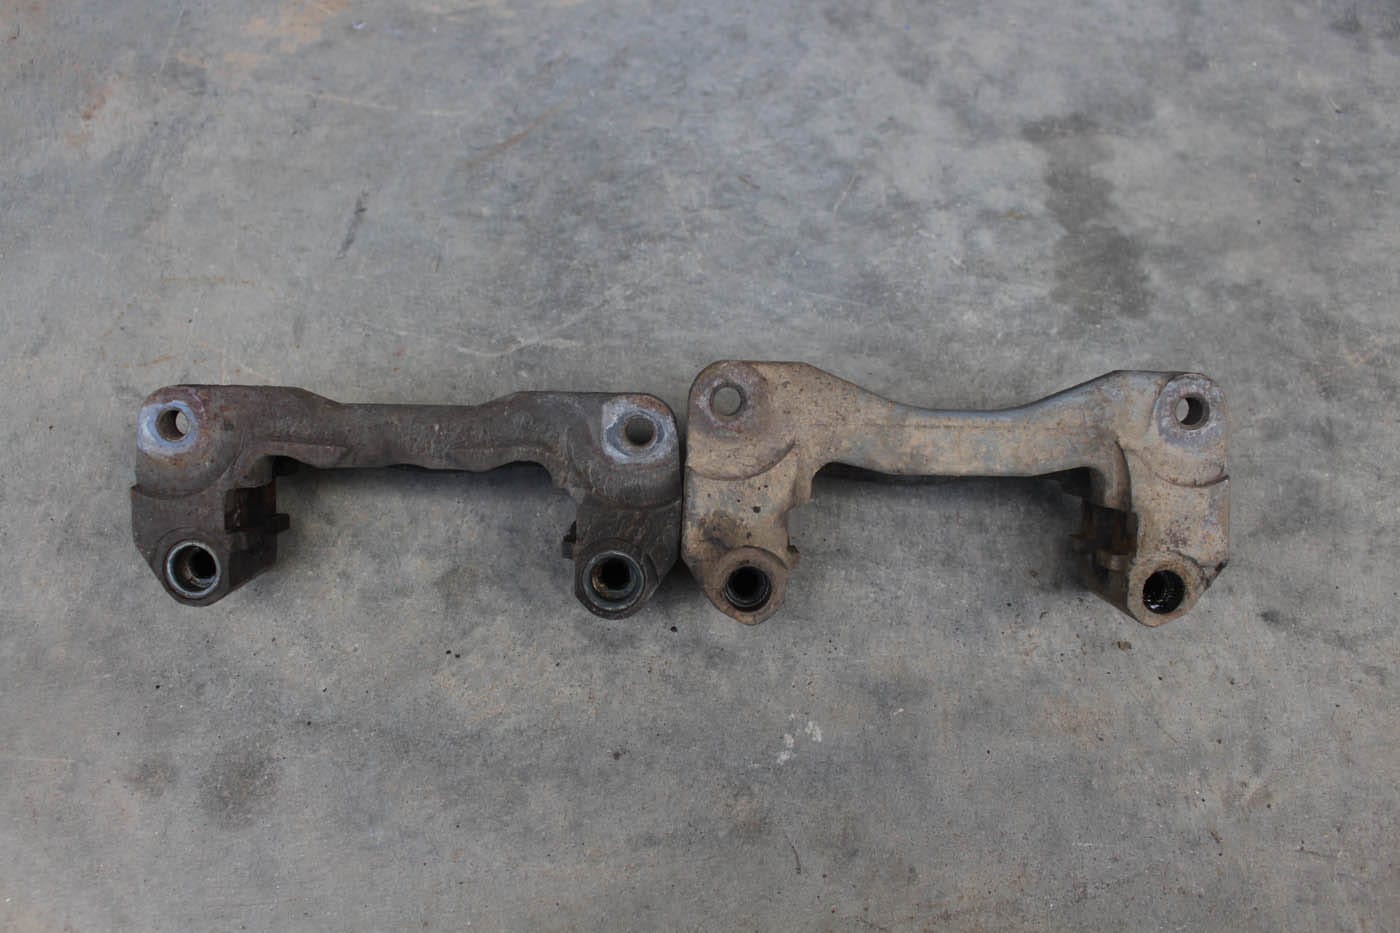
Your new caliper bracket does not have slide pins, unless you bought the caliper + bracket combo for the non-RS Impreza. You will need to transfer these slide pins from your old bracket to the new one. If you will be using your car for racing, I recommend removing those rubber bushings on the ends of the pins. Only one pin has one on each caliper. These can cause your slide pins to jam much easier. The only disadvantage of doing this is hearing more braking noise.
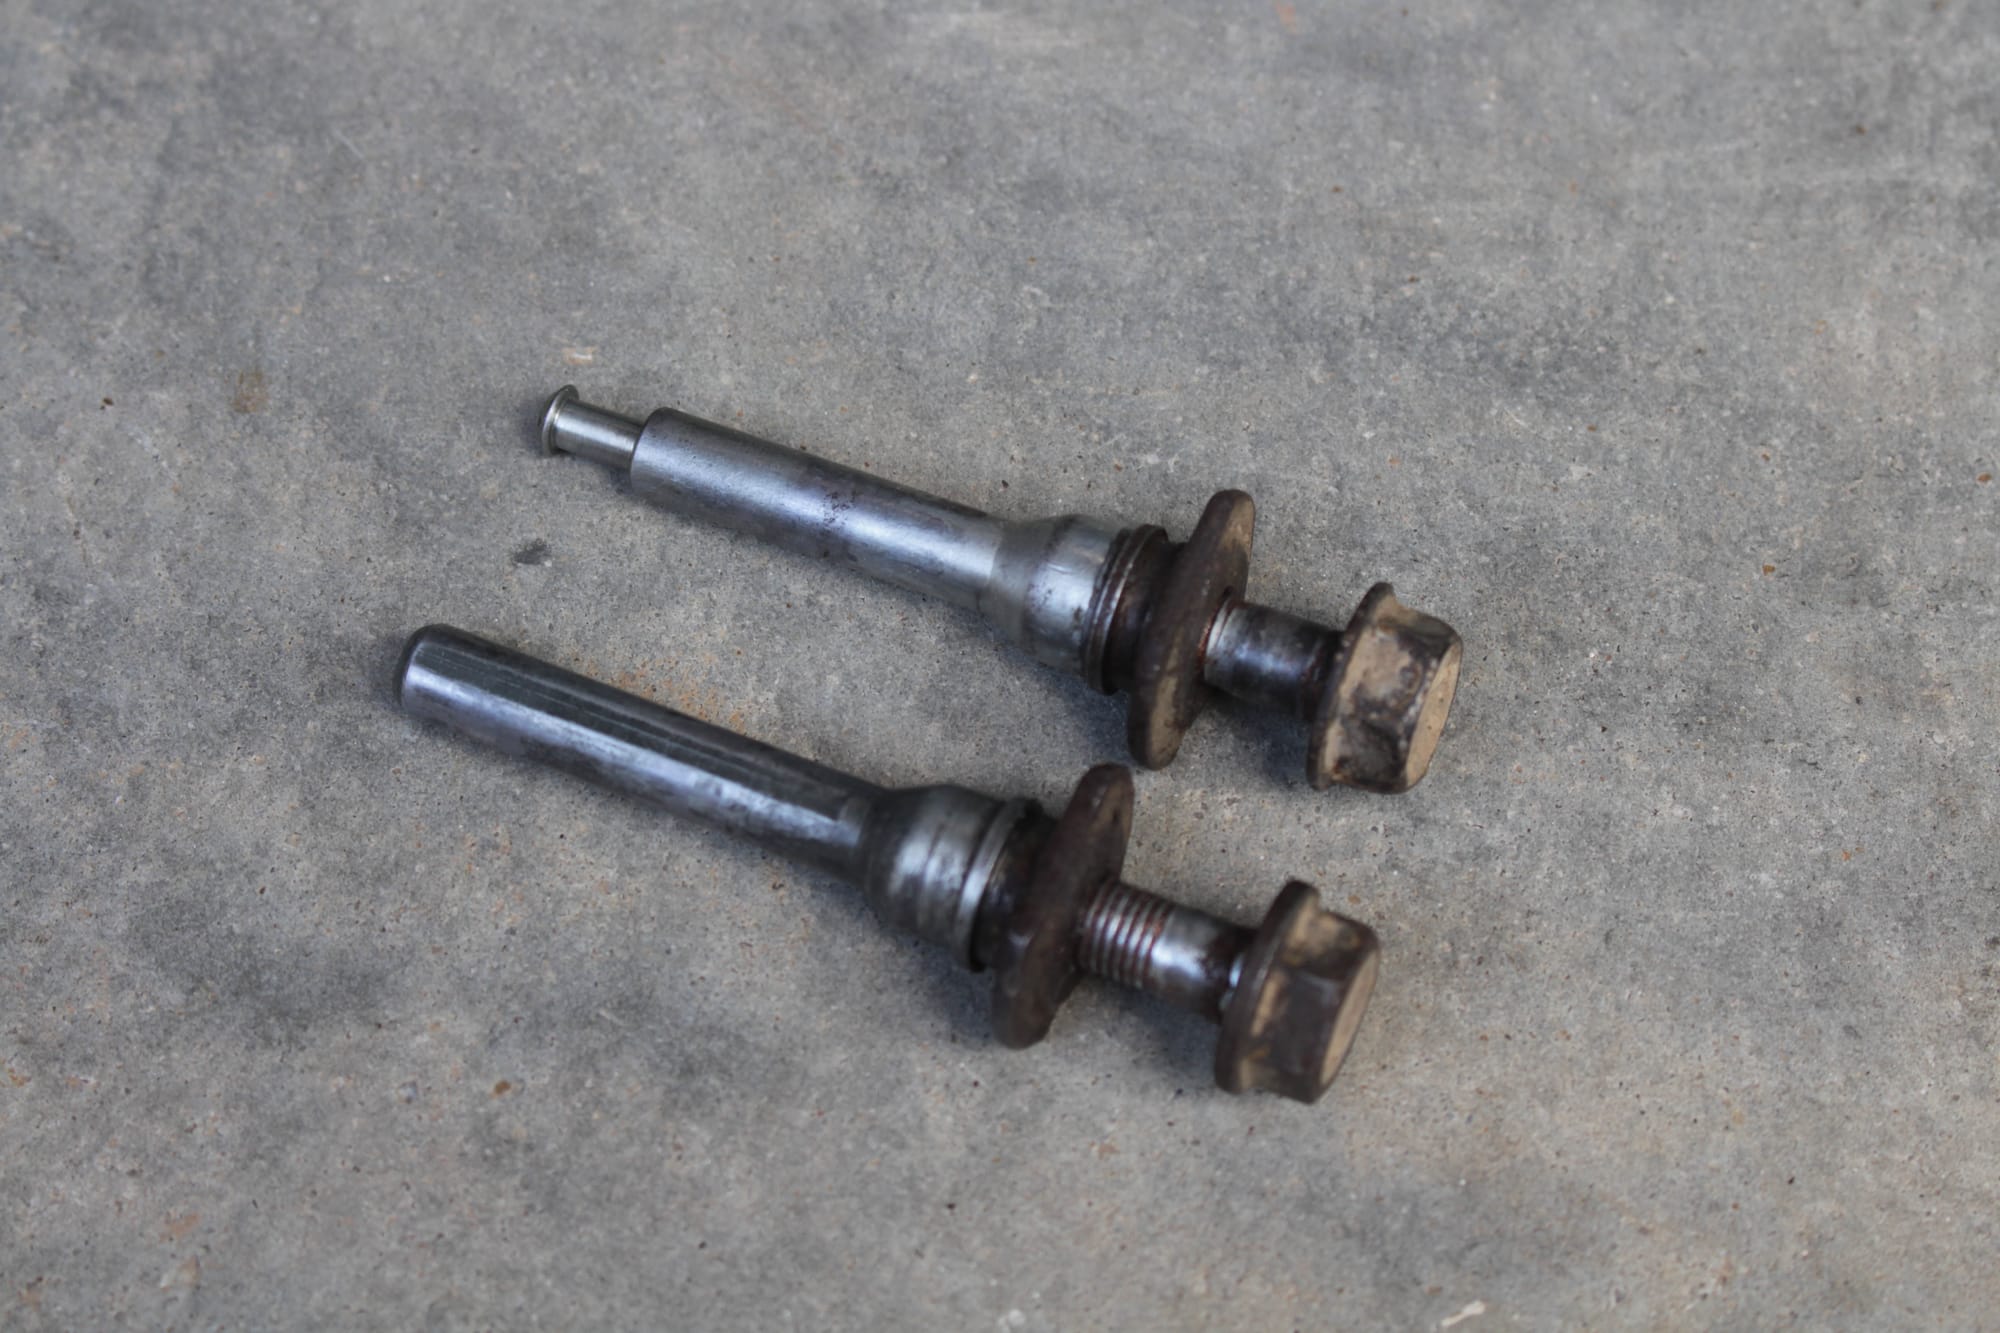
Lubricate the slide pins with the 3M Silicon Paste before installing them into the new bracket. Check to make sure that the caliper pins can slide back and forth well. This might seem like a minor detail, but if they start to get stuck, you will lose a lot of braking force. Sometimes you will get new anti-rattle clips when buying new brake pads, but if you don't then just transfer them over from the old caliper brackets to the new ones. Now you will need to remove the brake dust shield to fit the new rotor. For the front, simply remove the bolts that hold it on from the back of the knuckle. The rears are spot welded on. You can trim it with sheet metal snips or a cutting disk.
Put on your new, larger rotor. Then put on your new, larger caliper bracket that you just assembled. Now put your new brake pads on the caliper bracket. I like to put some of the silicon paste on the back of the pads where they will touch the caliper. This will help them settle and prevent them from rattling.
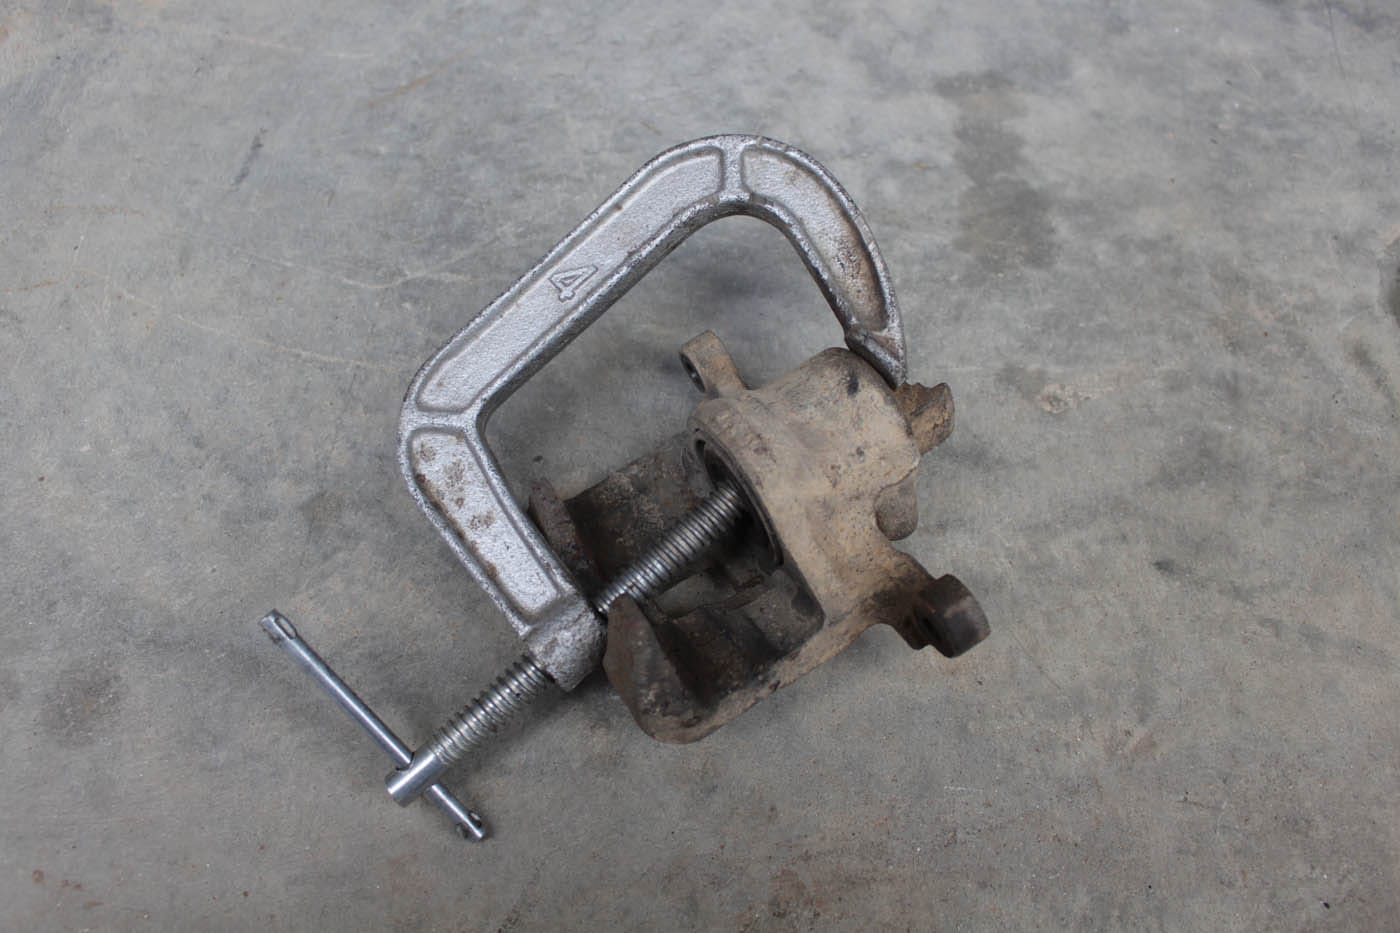
Before you put your calipers back on, you will need to push the pistons back in to fit your new, thicker pads. There are special tools for this, but Subaru makes it easy to do it without them. You can press them in with a c-clamp or large jaw pliers. Once they are pressed back in, put them on the bracket and bolt them back on.
That was easy, right? Now do that for the remaining three sides.
If you replaced any calipers in that process, you will need to bleed your brakes to remove the air in the hydraulic system that you introduced from disconnecting the lines. You will need a buddy for this, a bottle of brake fluid, and a brake bleeder kit or a clear tube that fits over the brake bleeder screw.
You want to bleed in this order if you have ABS as per Subaru's factory service manual (FSM):
- Front Right
- Rear Left
- Front Left
- Rear Right
If you don't have ABS, you should bleed from the calipers that have the longest to shortest fluid travel, but you need to do the secondary chamber before you do the primary chamber of the master cylinder as per the FSM.
I will not cover the entire brake bleeding process in this post, but make sure there is absolutely no air in the lines before driving.
Conclusion
So there you have it, you have successfully upgraded your brakes for a low price all by yourself. The amount of braking force you have now is ridiculously awesome for how light the car is. One thing I should mention is that I installed a proportioning valve and removed my ABS system when I did this modification so I was able to tune my brake bias. Since the rear rotor had a larger size change, that means that your brake bias will shift slightly to the rear. I do not have experience with this modification on the stock valve. I am assuming that it's negligible as far as safety goes because a lot of people have done the rear brake upgrade without doing the front on the stock valve and still praise it.
You might be wondering, "How will I be able to fit 15x6" Subaru wheels when they still don't fit on these front brakes?" and you would be right for asking. I grinded down the stock Subaru calipers to make it work!
I hope you found this upgrade useful. If you have any questions, feel free to comment below. I will do my very best to help steer you in the right direction.