From Junker to Rally Car - Part 4 - Clutch and Transmission
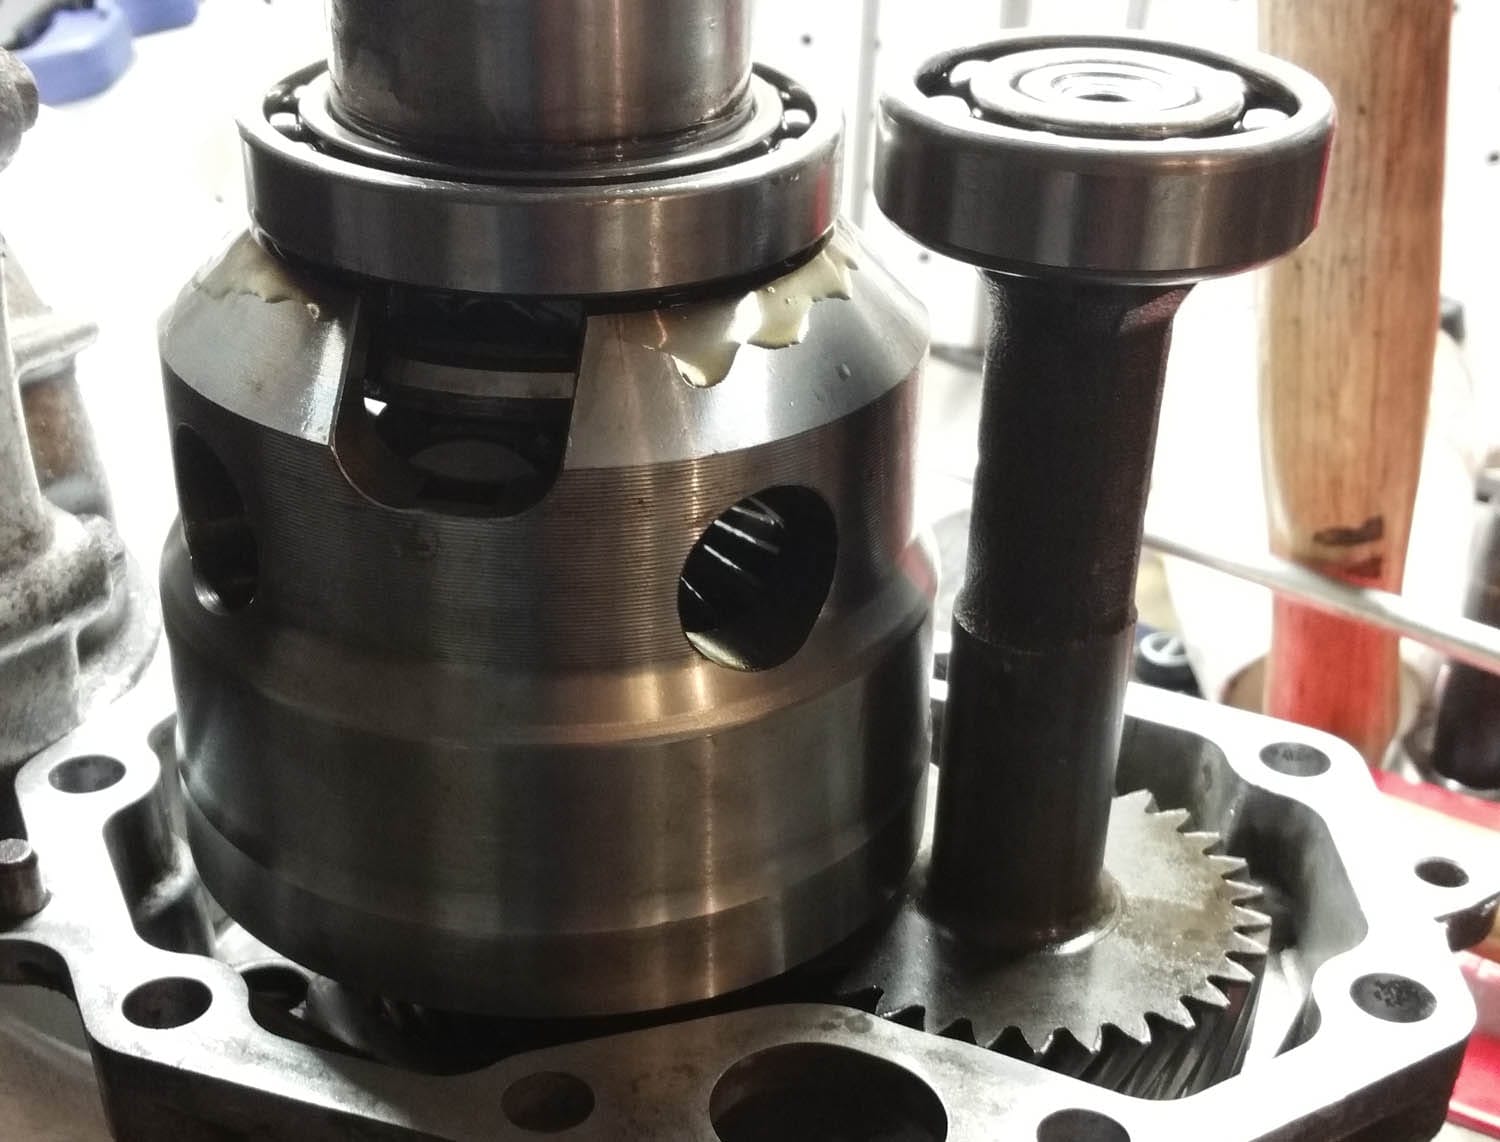
This was definitely the highest priority repair I needed to make on the car. My first question was: "Which clutch and flywheel should I get?". I did not need a crazy, unsprung, ceramic clutch for the car because I will not be adding too much power to the car. I was lucky to find a guy on the RS25 forums who was selling his used ACT Streetlite Flywheel and Exedy Stage 1 Organic Clutch. He said it was only used for 5k-10k miles, so I took his word for it and bought it. I think he was only asking $300 for both of them shipped.
I went ahead and pulled the transmission out. This required the exhaust, drive shaft, and transmission crossmember to come off. Disconnecting the transmission from the engine took some work. There was a lot of chiseling going on to split them apart. Once they disconnected, I used a jack to lower it and pull it out from the bottom.
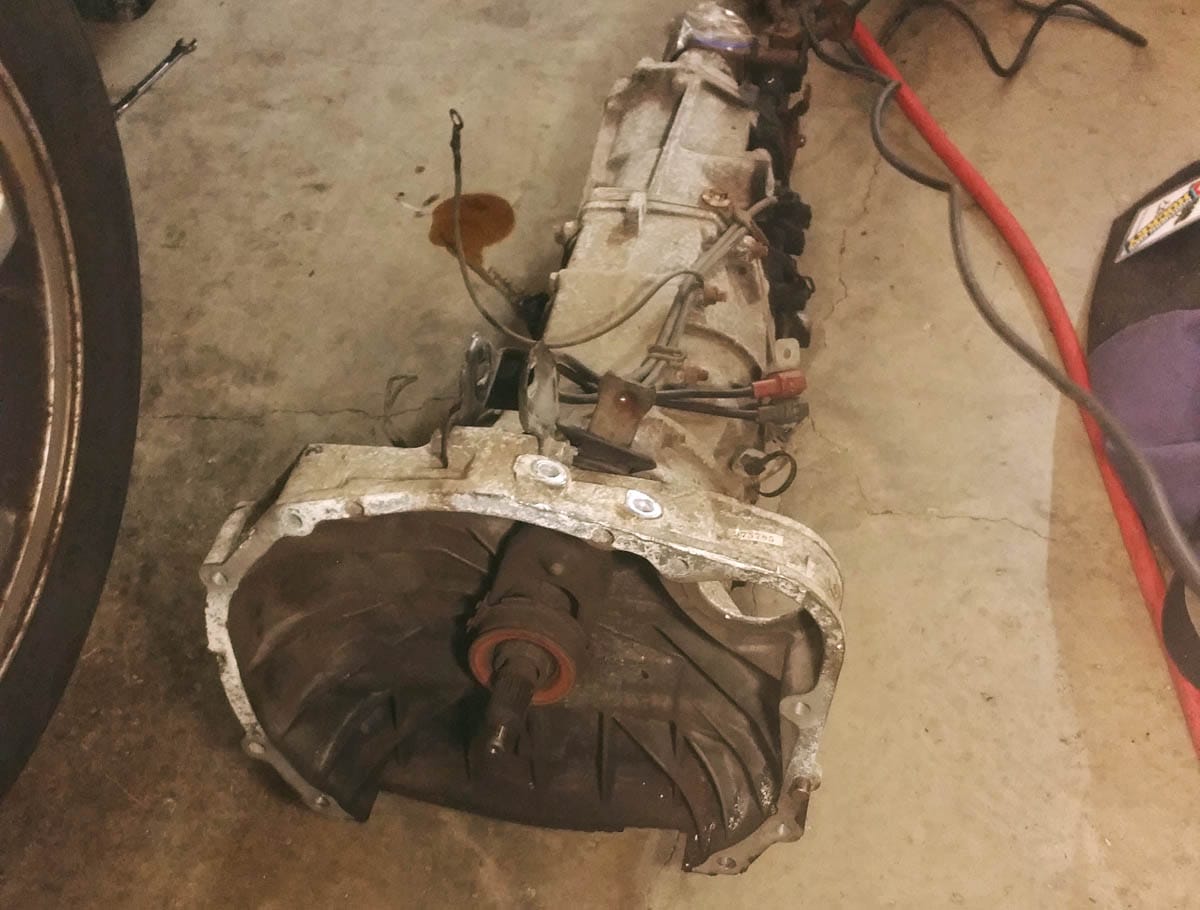
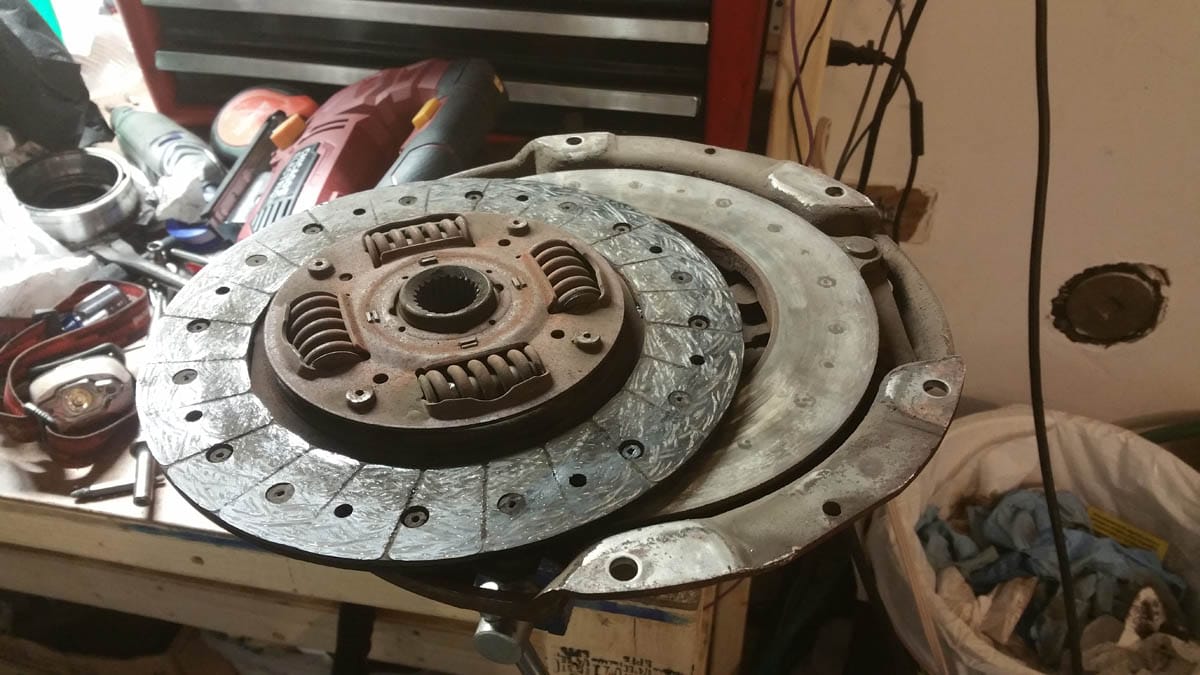
The first thing I noticed was how worn out the throwout bearing was. It was clunky, dirty, and binded up while sliding back and forth. Then I pulled off the pressure plate and took a look at the clutch and flywheel. The flywheel was in decent condition, but the pressure plate had some burn marks.
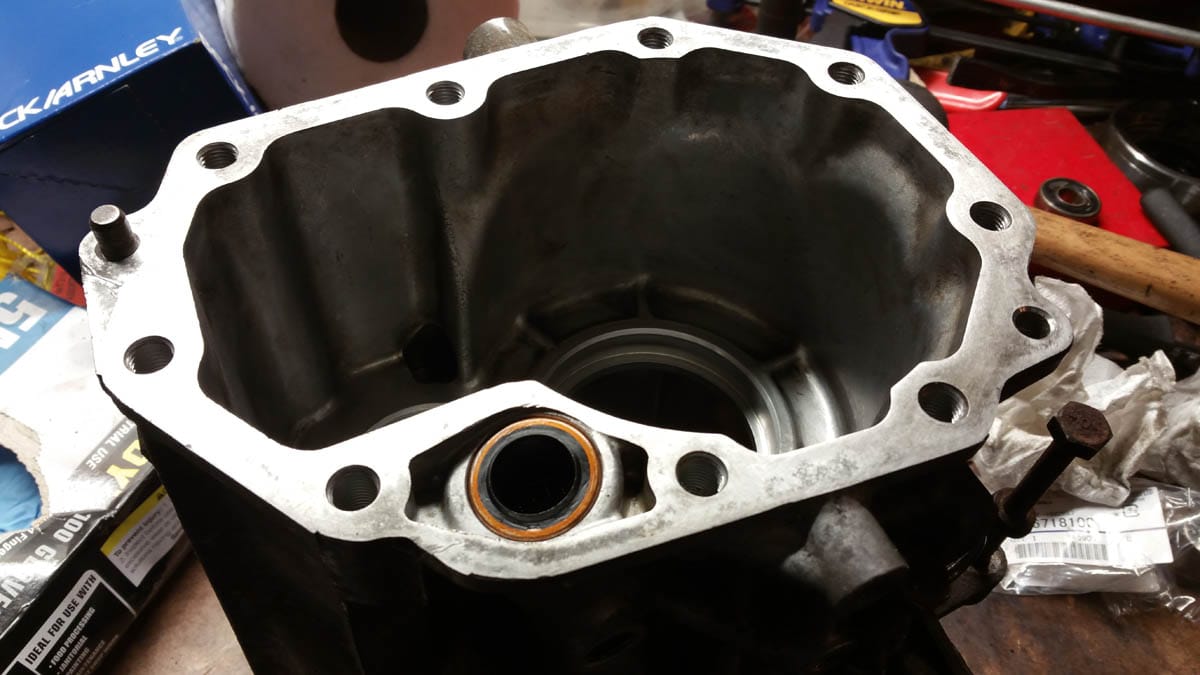
Taking a look at the transmission again, I noticed that there was a big leak coming from the shifter rod. I have a factory service manual for the car, so I looked it up to see how easy it would be to replace the seal in there. It required me to take off the transmission extension and center differential housing. I went ahead and dove right in to take it apart.
In a short amount of time, I was in! The first thing I noticed was just how good the condition of this transmission was. I did not see metal flakes or chipped parts at all. Quite impressive for 205K miles!
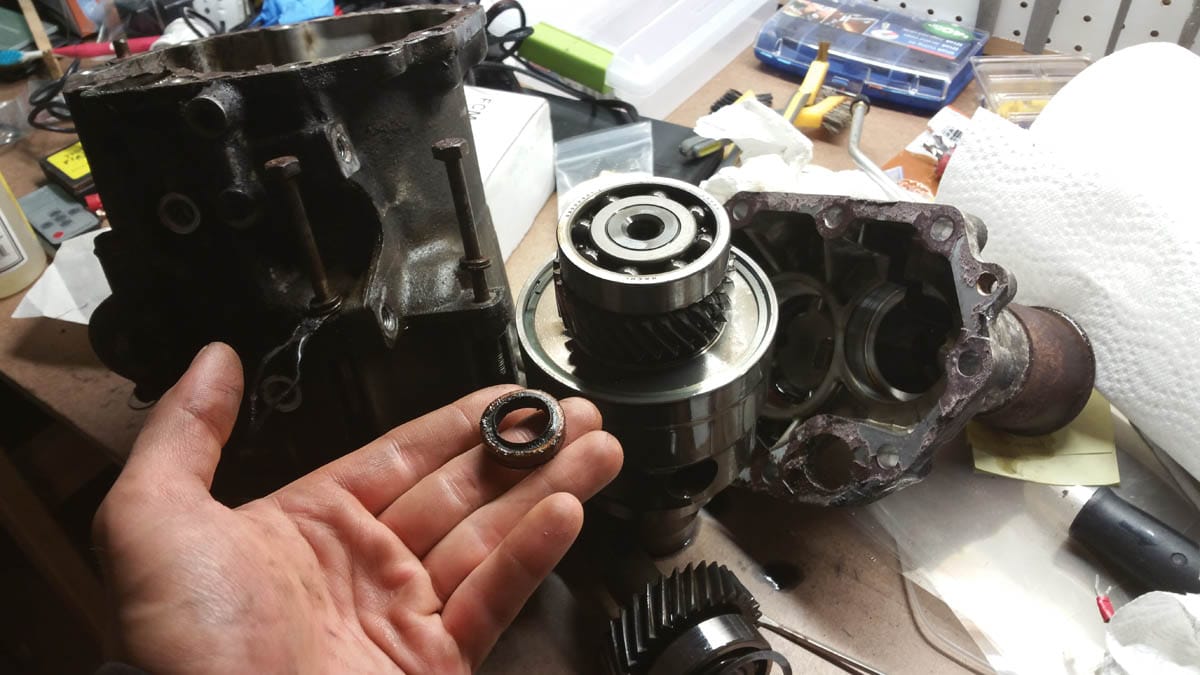
Looking closer, I noticed that the failed seal introduced another problem. It let moisture into the transmission and made the part adjacent to it, the main shaft rear plate, develop a layer of rust. It made me feel better about doing all of this work just to fix a relatively minor problem, only to find out how important it really was.
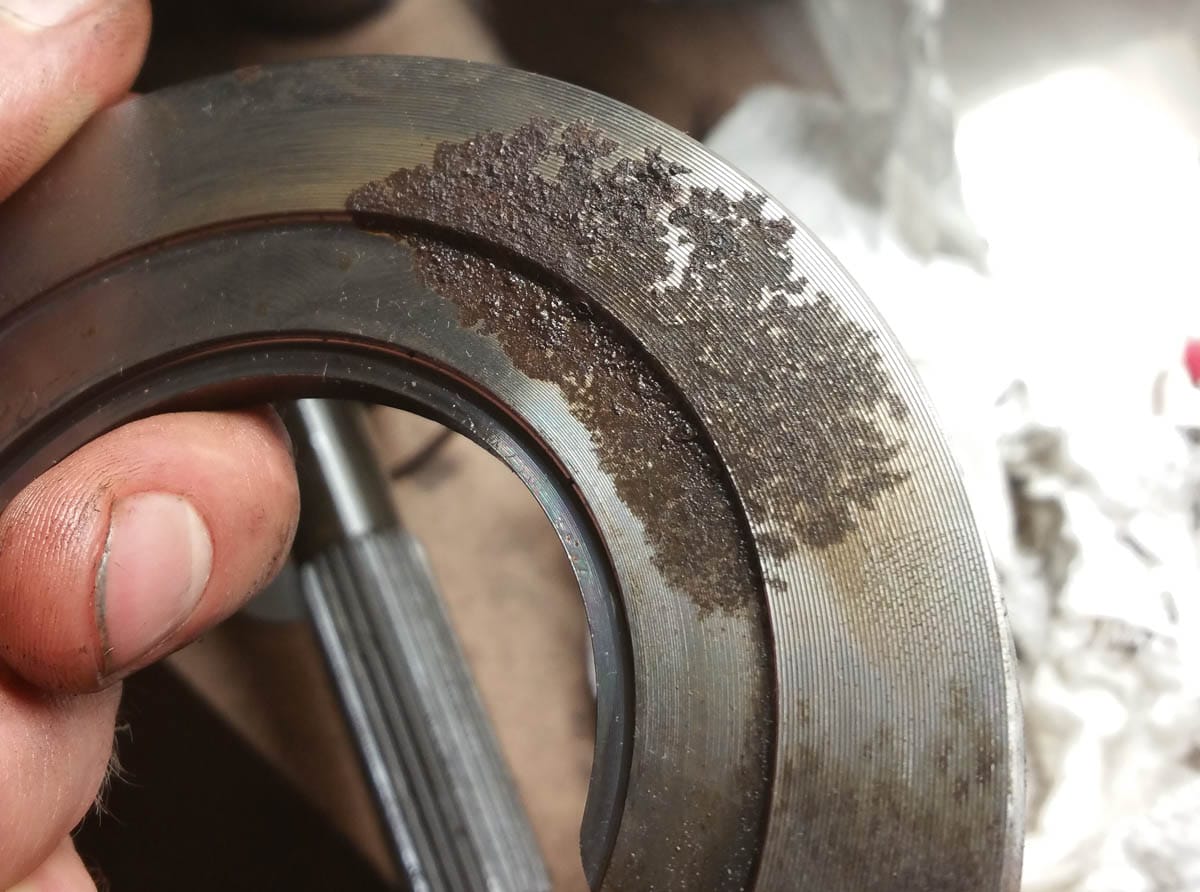
I hand sanded it down lightly to remove the rust. I did not want to sand it down perfectly, because the thickness of this part is important. It acts as a supporting spacer for the extension end of the main shaft. The part comes in a 5.50mm and a 5.63mm version to account for the bearing protrusion from the end of the main transmission case. Probably more than you care to know, but it just proves the point that this thickness should not be changed.
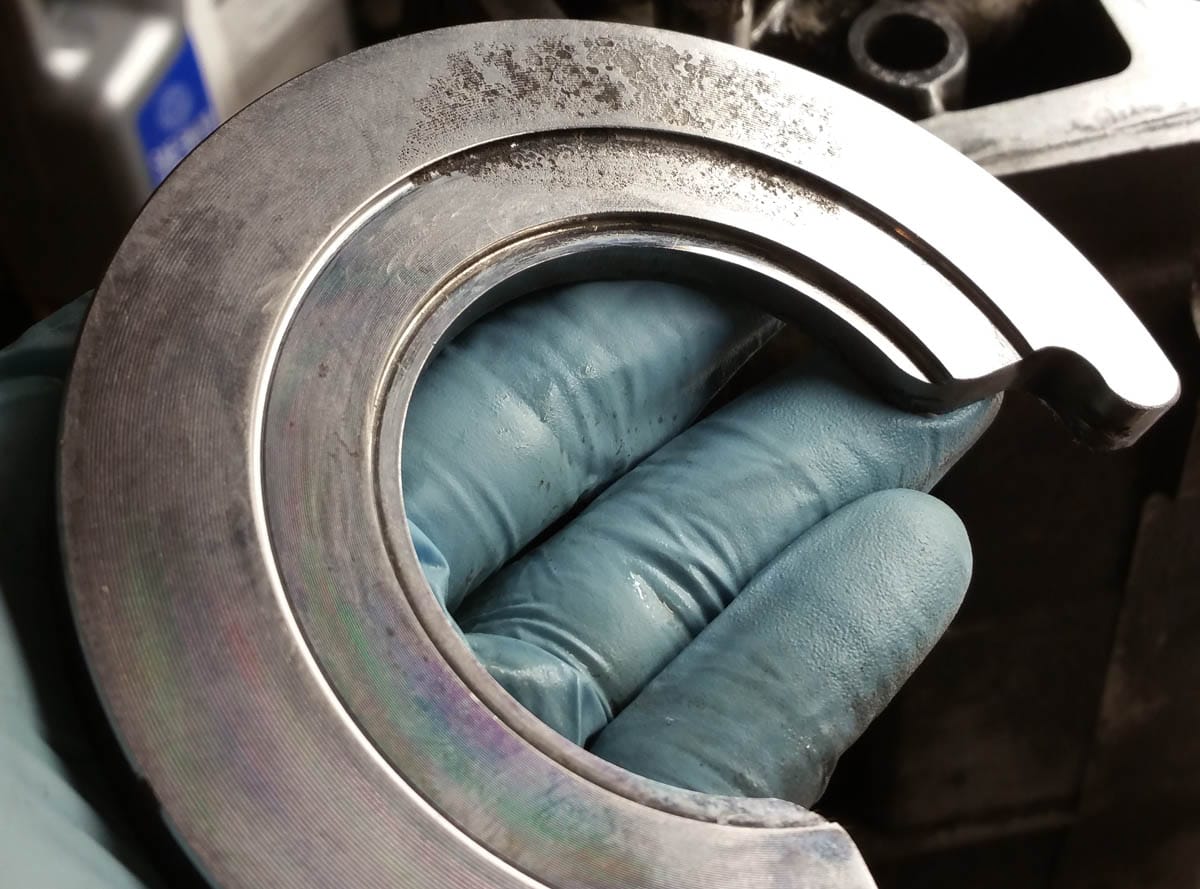
After putting the main shaft rear plate back on and doing a thorough cleaning of the insides, I put the new shifter rod seal in and started putting the case back together. I was torquing the extension case bolts to spec, but my 3/8" torque wrench ended up braking and snapping the long bolt. I ended up having to take it apart again to extract the bolt. It was one of those 2am nights again, so that did not put me in a good mood.
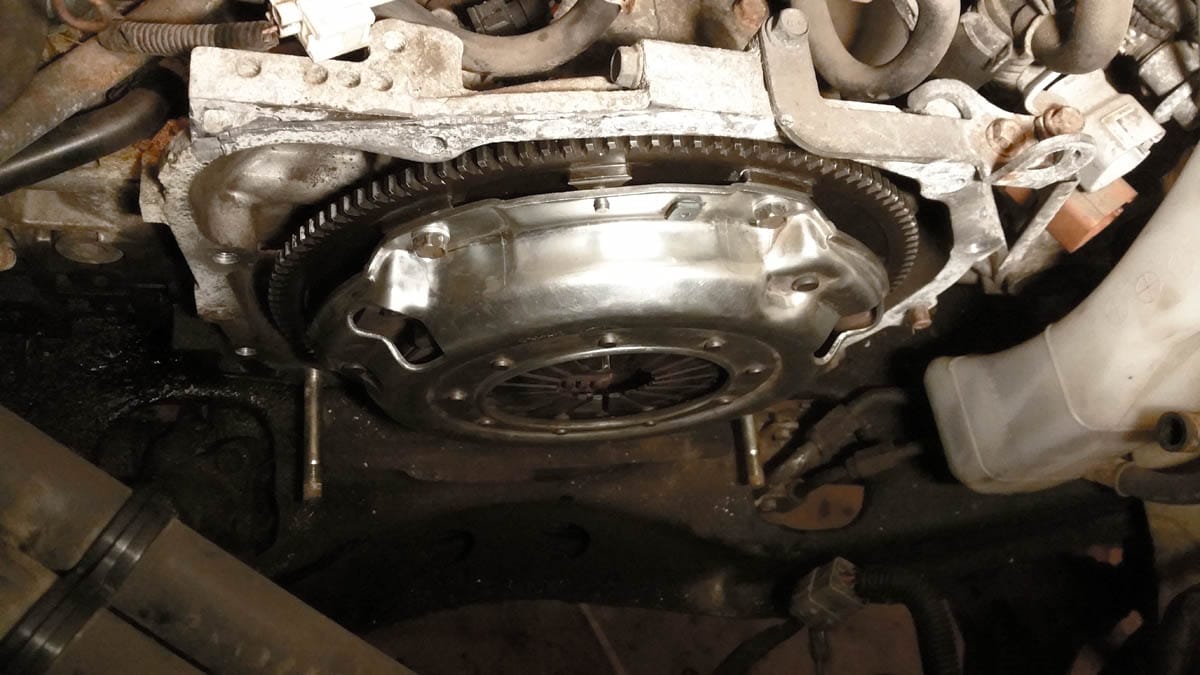
I did not have a clutch alignment tool, so I ended up ordering it online. A couple days later, I put on the new clutch and flywheel.
Stay tuned for part 5 where I start working on the brakes, including removing ABS and upgrading the rotor sizes.
Please subscribe and follow on YouTube, where you can find our in-car racing videos!

