From Junker to Rally Car - Part 3 - Suspension Reinforcement

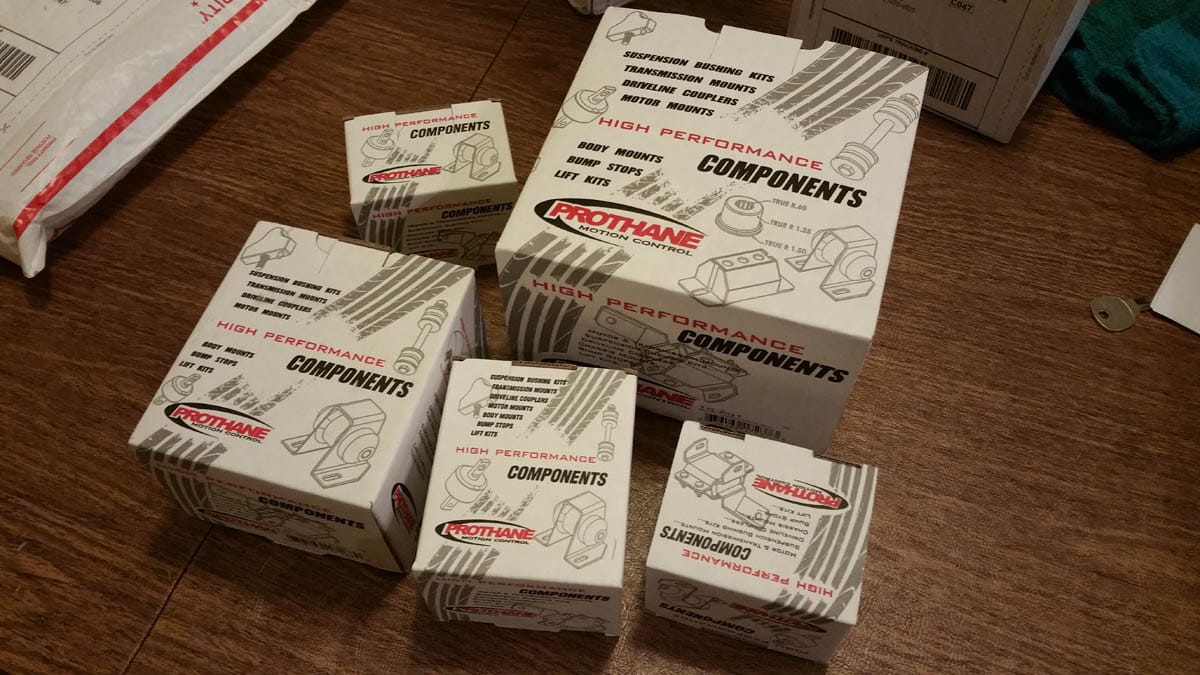
Moving along to the suspension from part 2, the next task on the list was replacing all of the suspension bushings. Because this is a race car, I chose to get polyurethane bushings of course. I bought a kit from Prothane. Some of the bushings were for a GD WRX, so I ended up not using those. I also bought the bushings for the lateral links from Whiteline. Here's what I used for this modification:
- Front Sway Bar Bushings
- Rear Sway Bar Bushings, I upgraded to a 17mm rear sway bar at the time of this modification so I got these bushings. It was nice for the street, but I do not use a rear sway bar for rally.
- Front Control Arm Bushings
- Lateral Link Bushings
- Trailing Arm Bushings
I did not replace the rear spindle bushings and the rear control arm bushings because they were still in good shape and pretty firm.
Before I put these bushings in though, I wanted to reinforce some of the components. I recently came back from co-driving at ESPR 2015 while this was going on. I saw a fair amount of suspension failures.
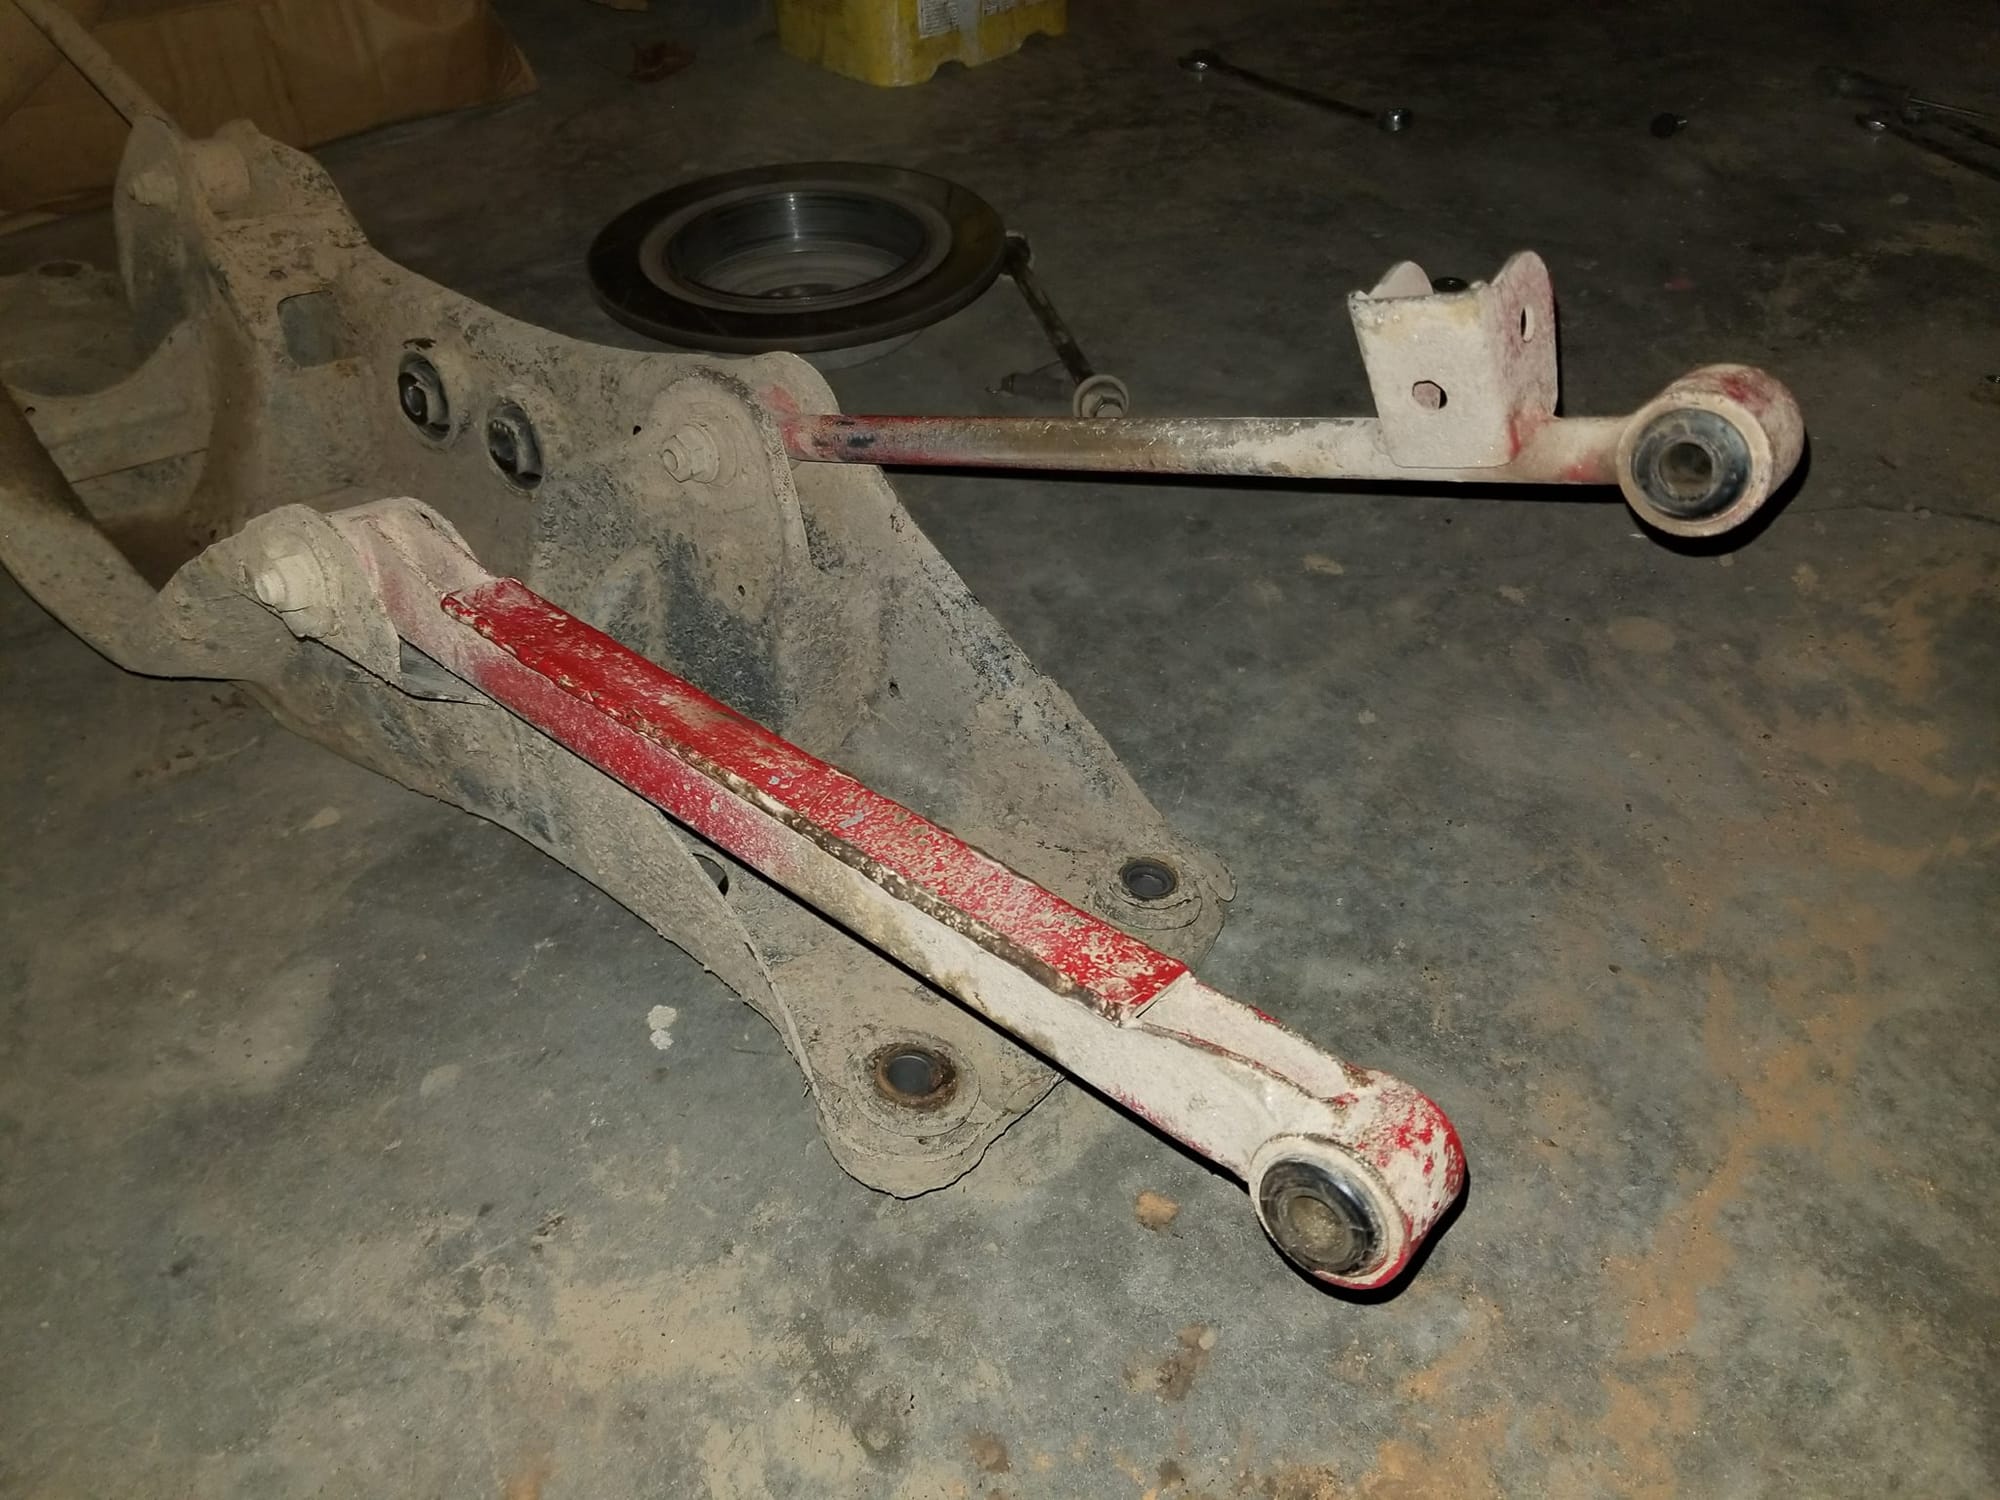
The first one happened to us. We weren't in a Subaru, rather a Ford Focus, but it's still worth learning from. The Focus's trailing arm was basically a piece of flat stamped steel. Definitely not strong enough to handle the abuse of rally. It did not take long before this trailing arm bent, and we didn't even jump or hit anything. Now, I know the Subaru has a decent trailing arm, especially compared to the Focus, but I decided to reinforce it anyway. If you are not familiar with the shape, it's basically a C, or a rectangle with a side missing. I decided to make it a full rectangle by adding one more side.
This shape is also used for one of the lateral links, commonly known as the taco link because of its shape. I decided to box that one up as well and call it a burrito.
At this time, I did not have any welding experience. I had my good friend Dan lend me a hand and weld the new sides onto the trailing arms and lateral links. It turned out great!

One of the most common failure points for Subarus are the front control arms. They have a tendency to kink at the bend. It doesn't help that there are holes on both sides of the middle of that bend. I wanted to eliminate this weakness as well by welding plates on both sides of the bend.
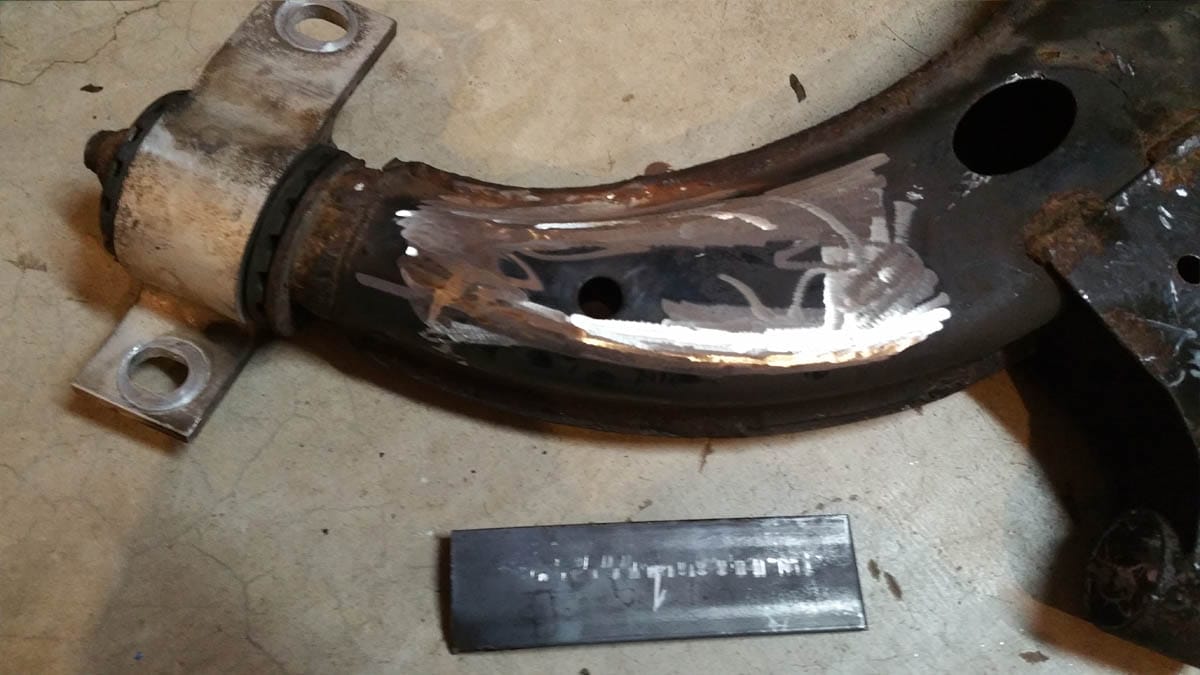
This time I went over to my friend Drew's house to try and weld these plates on myself using his welder. His welder is a Harbor Freight flux core welder, and I will tell you what - they are actually pretty good once you have some practice. They turned out awesome, and I still have those control arms on my car today!
Once everything was reinforced, it was back to Dan's place for some sandblasting. I cleaned up the surface rust and the bushing mating surfaces. Next, it was time to press in these bushings. I did not have a press so I made a tool. It's basically a few large washers and a big nut and bolt. I used my impact wrench to pull them inside of the parts by tightening the nut and bolt.
Finally, it was time to paint! I just used Rust-Oleum enamel paint that you can find anywhere. I put on the primer first, then red enamel. If I remember correctly, I was doing this at 2am. Being my first actual car build, I was pretty excited working on the car, so the late nights did not bother me so much. I painted my shifter linkage as well at this time because it was just sitting around being rusty.

Stay tuned for part 4, where I crack open the transmission and replace the clutch.
Please subscribe and follow on YouTube, where you can find our in-car racing videos!